Struggling with brittle patterns or stubborn air bubbles?
The culprit isn’t your technique—it’s likely oxidized wax or hidden contaminants in your system. As a professional caster, I know that replacing wax in an injection pot is the most overlooked step in maintaining high jewelry casting quality.
In this guide, you’ll learn the exact process to drain the injection pot, deep clean the injection nozzle, and degas a fresh batch for flawless, high-definition patterns.
Let’s dive right in.
Why Replacing Wax in an Injection Pot is Essential
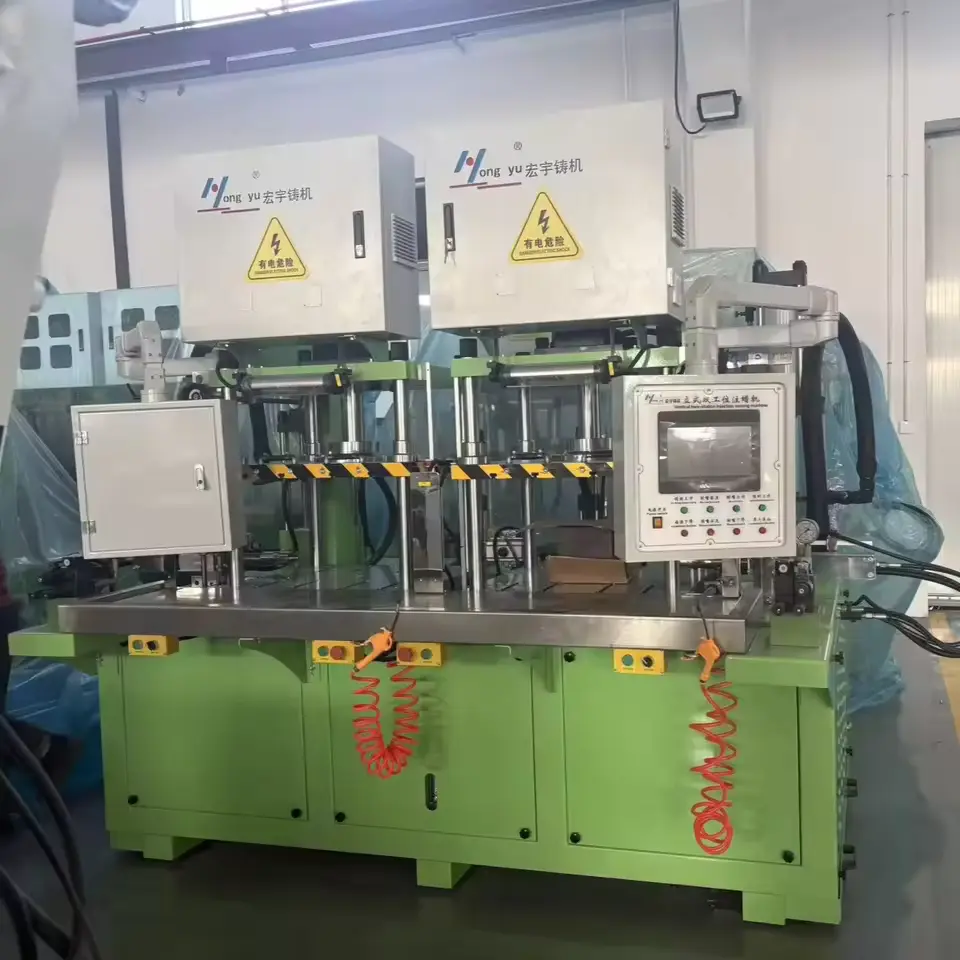
Maintaining a high-performance wax injection machine requires more than just routine external cleaning; it demands a proactive approach to wax management. Over time, the chemical properties of the wax break down due to repeated heating cycles, leading to subpar results. As a leading wax injection machine manufacturer and supplier, we emphasize that fresh wax is the foundation of every successful production run.
Impact of Degraded Wax on Jewelry Casting Quality
Using old or overheated wax directly compromises the integrity of your jewelry design. When wax degrades, it loses the fluidity and elasticity necessary for complex geometries.
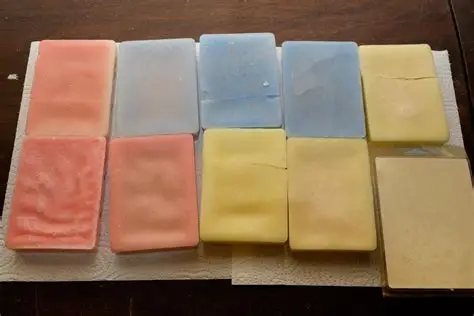
- Surface Imperfections: Degraded wax often results in “orange peel” textures or micro-bubbles on the pattern surface, which transfer directly to the metal during lost wax casting.
- Increased Brittleness: Old wax becomes prone to cracking during removal from the mold, leading to broken prongs and lost details.
- Dimensional Instability: Significant shrinkage occurs when the wax’s molecular structure fails, causing sizing issues in the final cast pieces.
Recognizing the Signs of Contaminated or Oxidized Wax
Identifying when to purge your system is critical for maintaining efficiency. If your injection temperature settings no longer yield consistent results, it is likely time for a change.
- Discoloration: Wax that has turned significantly darker or opaque usually indicates oxidation from prolonged exposure to heat.
- Visible Contaminants: Look for sediment or “sludge” at the bottom of the pot, which can clog the nozzle and internal valves.
- Unpleasant Odor: A sharp, acrid, or burnt smell is a definitive sign that the wax has undergone thermal decomposition.
- Viscosity Shifts: If the wax feels unusually thick or “stringy” at your standard operating temperature, the internal additives have likely burned off.
Preparation for a Successful Wax Replacement
Before you start draining your wax injection machine, you need to gather the right gear. It’s not just about dumping the old stuff; it’s about prepping the pot so the new carvable injection wax flows perfectly without contamination. A little prep work here saves you hours of troubleshooting failed injections later.
Essential Tools for Removing and Refilling Wax
You don’t need a high-tech lab to do this right, but you do need specific items to avoid a mess and protect your equipment. Here is what I keep on my bench:
- Disposable Catch Containers: Have old coffee cans, heavy-duty deli cups, or disposable aluminum pans ready to catch the liquid wax.
- Non-Marring Scrapers: Never use metal tools inside the pot. Use wood or plastic spatulas to scrape the interior walls. Metal tools will scratch the aluminum pot surface, creating places for old wax to hide and degrade.
- The “Chain Trick” Kit: If you plan to use the “solid block” removal method (a massive time-saver), you need a 12-inch metal chain with roughly 1/2-inch links and a wooden dowel or stick to suspend it in the pot.
- Cleaning Wax: Plain Paraffin wax is excellent for flushing out dye and resinous residue. It cleans the valves better than just wiping them down.
Safety Precautions for Handling High-Temperature Materials
Wax burns are nasty because the material sticks to the skin while it burns. When you are dealing with a pressurized pot, the risk increases. Follow these rules to stay safe:
- Watch the Pressure: If you are flushing the nozzle with paraffin or liquid wax, turn the pressure way down—ideally below 1 PSI. High pressure combined with thin, hot cleaning wax leads to dangerous splattering and “shooting” across the room.
- Temperature Awareness: Cleaning waxes like paraffin often have different melting points than standard jewelry waxes. Always use a reliable temperature probe rather than guessing.
- Protective Gear: Always wear heat-resistant gloves. When draining liquid wax, splashes are almost inevitable, and you want that barrier between you and the 160°F+ liquid.
Step-by-Step Guide to Draining the Injection Pot
Draining the reservoir correctly is the most critical stage when replacing wax in an injection pot. You cannot simply add new material to an old, oxidized batch without compromising the fine details of your jewelry design.
Heating and Safely Emptying Liquid Wax
I start by powering on the wax injection machine and setting the injection temperature just high enough to turn the solid mass into a flowable liquid.
- Monitor the heat: Avoid overheating the old wax, as degraded material can release irritating fumes.
- Open the drain: If your unit has a bottom drain valve, place a heat-resistant container underneath and open it slowly.
- Manual Removal: For pots without drains, use a clean metal ladle to remove the bulk of the liquid while it is in a fluid state.
As a leading wax injection machine Manufacturer and supplier, I recommend using a wax injection machine for investment casting that features accessible drain ports to make this process mess-free.
Removing Residual Build-up from Reservoir Walls
Even after draining, a layer of “sludge” or film often sticks to the sides. This residue is a cocktail of dust and oxidized wax that will ruin your next batch of lost wax casting patterns if left behind.
- Wipe while warm: Use a lint-free cloth or heavy-duty paper towels while the pot is still warm to the touch.
- Avoid metal scrapers: Never use sharp metal tools that can gouge the interior coating of the reservoir.
- Inspect the base: Pay close attention to the bottom corners where contaminants tend to settle.
Getting the walls completely clean ensures that your new wax remains pure and performs consistently. For deeper insights into maintaining your equipment, you can refer to this mold and cast guide for professional tips on material handling.
Deep Cleaning the Injection Nozzle and Internal Valves
Clearing Clogs in the Wax Delivery System
As a dedicated wax injection machine manufacturer and supplier, I have seen how even a tiny bit of charred residue can ruin a production run. If your nozzle is restricted, you lose the precision needed for high-end jewelry design. We start by maintaining the heat to keep the wax fluid, then use a fine brass wire or a dedicated nozzle cleaning tool to clear the orifice. For stubborn blockages, I recommend removing the nozzle entirely and soaking it in a wax solvent. Staying on top of these small parts is a critical step in effective wax injection troubleshooting to ensure your flow remains consistent and your patterns stay crisp.
Ensuring a Contaminant-Free Environment for New Wax
Before you introduce fresh material, the internal valves must be completely free of old, oxidized “sludge.” If any old wax remains, it will contaminate the new batch, leading to brittleness or surface defects in your lost wax casting results. To get the system truly clean, follow these steps:
- Flush the Valves: Run a small amount of clean wax through the system at a slightly higher injection temperature to purge the internal lines.
- Inspect Valve Seats: Check for any debris trapped in the seal area that could cause pressure leaks.
- Wipe the Rim: Clean the top edges of the pot to prevent dust from falling into the reservoir during the wax injection process.
By keeping the delivery system spotless, you ensure that the fresh wax performs exactly as intended from the very first shot.
How to Properly Refill Your Injection Pot
Refilling isn’t just about pouring in new material; it’s about maintaining the integrity of the medium. When replacing wax in an injection pot, the goal is a homogenized, bubble-free melt that flows perfectly into your molds. As a wax injection machine manufacturer and supplier, I’ve found that the way you handle the refill determines the success of your entire production run.
The Correct Way to Melt New Injection Wax
Patience during the melt phase prevents “cold flakes” and thermal shock. Rushing this step often leads to inconsistent precision casting and CNC machining results later in the production line.
- Start Low: Set your pot to about 5–10 degrees above the wax melting point.
- Batch Feeding: Add wax beads or flakes in stages rather than filling the pot to the brim instantly. This keeps the injection temperature stable.
- Monitor Heat: Avoid “hot spots” by ensuring your pot’s heating elements are functioning evenly. Scorched wax becomes brittle and loses its detail-capturing ability.
Degassing Techniques to Eliminate Air Bubbles
Nothing ruins a jewelry design faster than a void or air pocket in the wax pattern. Air is naturally trapped between wax beads during the refill, so you must remove it before beginning lost wax casting.
- Vacuum Degassing: If your machine is equipped with a vacuum feature, run a cycle once the wax is fully liquid. This pulls micro-bubbles to the surface effectively.
- The Dwell Period: If you don’t have a vacuum, let the liquid wax “rest” at temperature for at least an hour. This allows trapped air to rise naturally.
- Minimal Agitation: Never stir the wax vigorously. If you must mix, use a slow, steady motion to avoid folding air back into the liquid.
Properly managed wax ensures that subsequent steps, such as automated shell coating, remain flaw-free and efficient.
Expert Tips for Replacing Wax in an Injection Pot
Successfully replacing wax in an injection pot requires more than just a quick swap. As a dedicated wax injection machine manufacturer, I’ve seen how small shortcuts lead to failed patterns in lost wax casting. To keep your production line running smoothly, precision is everything.
Preventing Cross-Contamination Between Wax Types
Mixing different wax formulas is a shortcut to poor results in jewelry design. If you’re switching from a high-detail carving wax to a flexible production wax, follow these rules:
- Perform a Sacrificial Flush: After draining the old material, run a small amount of the new wax through the system and discard it. This purges any stubborn residue from the internal lines.
- Wipe Down the Pot: Use a lint-free cloth to clean the reservoir walls while they are still warm.
- Dedicated Tools: Never use the same stirring tools for different wax types to maintain chemical purity.
Maintaining Optimal Pressure and Temperature Settings
Stability is the goal after a fresh fill. Once the new wax is in, don’t rush the first injection; give the machine time to settle.
- Thermal Equilibrium: Let the pot sit for at least one hour after it reaches its target injection temperature. This ensures the entire mass is heated evenly, preventing “cold spots” that cause flow issues.
- Pressure Calibration: Re-verify your PSI settings. Different waxes have unique viscosities and may require slight pressure adjustments to fill the mold correctly.
- Process Integration: Remember that a clean, high-quality wax pattern is essential for a successful burnout when using a dewaxing autoclave later in the production cycle.
| Factor | Impact on Quality | Expert Recommendation |
|---|---|---|
| Air Pressure | Affects mold fill and detail | Increase gradually to avoid “flashing” |
| Wax Purity | Impacts surface finish | Always filter your wax if recycling |
| Heat Soak | Prevents nozzle clogs | Never skip the pre-heat stabilization period |
Troubleshooting Common Issues After Replacing Wax
Even with a fresh batch of material, the transition period can trigger technical hiccups. If your patterns aren’t coming out perfect immediately after replacing wax in injection pot, it usually boils down to trapped air or temperature stabilization.
Resolving Air Traps and Voids in Wax Patterns
Air bubbles are the enemy of high-quality jewelry design. If you notice voids in your patterns, the wax likely wasn’t settled or degassed properly after the refill.
- Bleed the System: Perform several “dry” injections without a mold to force out air pockets trapped in the internal valves.
- Check Vacuum Pressure: Ensure your vacuum pump is pulling sufficient HG to remove micro-bubbles from the molten pool.
- Temperature Check: Verify the injection temperature is consistent. If the wax is too viscous, it won’t displace air in the mold properly; if it’s too thin, it traps turbulence.
Addressing Flow Consistency and Nozzle Leaks
A stuttering flow or a dripping nozzle is often caused by debris or incorrect pressure settings. When analyzing different industrial casting and precision processes, maintaining a steady flow is the most critical factor for repeatable accuracy.
| Issue | Likely Cause | Quick Fix |
|---|---|---|
| Dripping Nozzle | Worn seal or debris | Clean the nozzle seat or replace the O-ring. |
| Inconsistent Flow | Clogged filter | Inspect the internal wax filter for leftover residue. |
| Flash on Patterns | Excess pressure | Lower the PSI on your wax injection machine to match the new wax viscosity. |
If the flow remains irregular, double-check that no hardened “skin” from the previous batch is blocking the intake. Clean, consistent material is the only way to ensure your lost wax casting workflow stays profitable and efficient.
Maintenance Schedule for Wax Injection Systems
Regular upkeep is the only way to ensure your wax injection machine delivers consistent results year after year. When you are already in the process of replacing wax in the injection pot, take advantage of the empty reservoir to perform critical maintenance checks that are impossible to do when the pot is full.
Routine Inspections of Seals and Gaskets
Once the pot is drained and wiped clean, your primary focus should be the integrity of the pressure seals. The heat and pressure cycles eventually degrade rubber components, leading to air leaks or pressure drops that ruin wax patterns.
- Check the O-Ring: Inspect the main O-ring on the lid for cracks, flatness, or brittleness. If it looks worn, replace it immediately. A compromised seal is the number one cause of inconsistent injection pressure.
- Inspect the Nozzle Valve: Examine the seals around the nozzle outlet. Residue buildup here can prevent the valve from closing properly, causing leaks.
- Verify the Temperature Probe: Ensure the probe is clean and free of baked-on wax, which can insulate the sensor and cause inaccurate temperature readings.
If you need replacement parts or are considering upgrading your setup, check our products page for compatible components and systems.
Best Practices for Prolonging Wax Life in the Pot
Wax degrades over time, especially if it is constantly held at high temperatures. “Killed” or overheated wax loses its plasticizers, becoming brittle and prone to shrinkage. To extend the life of your injection wax:
- Avoid Overheating: Never leave the pot on high heat for extended periods when not in use. If you aren’t injecting, turn the temperature down or off.
- Keep the Pot Full: A full pot maintains a more stable temperature than a nearly empty one, reducing thermal shock to the wax.
- Use a Separate Melter: If possible, melt fresh wax in a separate container before adding it to the pot. This prevents the heating element in the pot from having to work overtime, which can scorch the existing wax.
- Flush Periodically: Even with good habits, resins accumulate. Perform a full clean-out using the paraffin flush method at least once or twice a year to keep the internal mechanisms free of old dye and gunk.
For those managing larger production lines, our global service team can assist with optimizing maintenance schedules for automated systems.