
2026年9月6日
Investment casting mold guide covering ceramic shell process tight tolerances surface finish and custom RFQ options
What is an Investment Casting Mold?
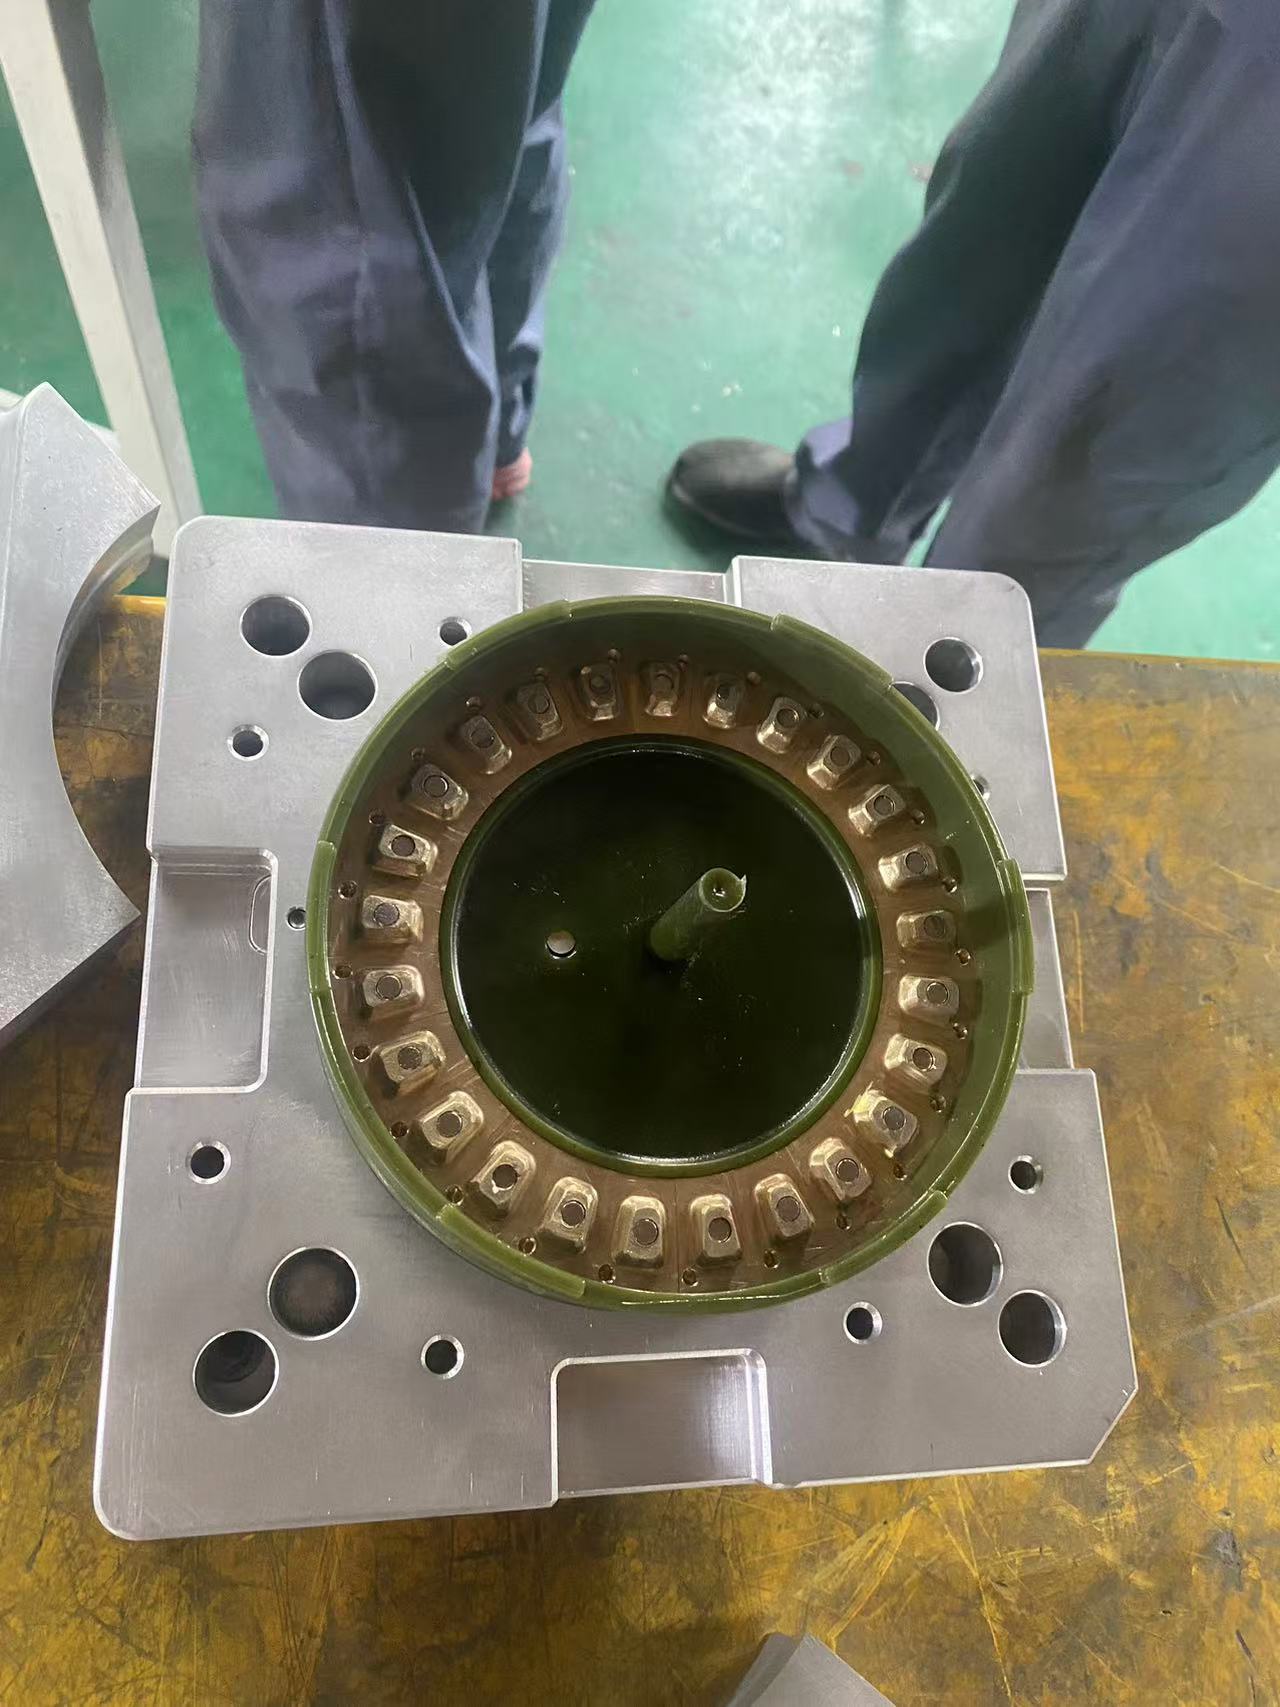
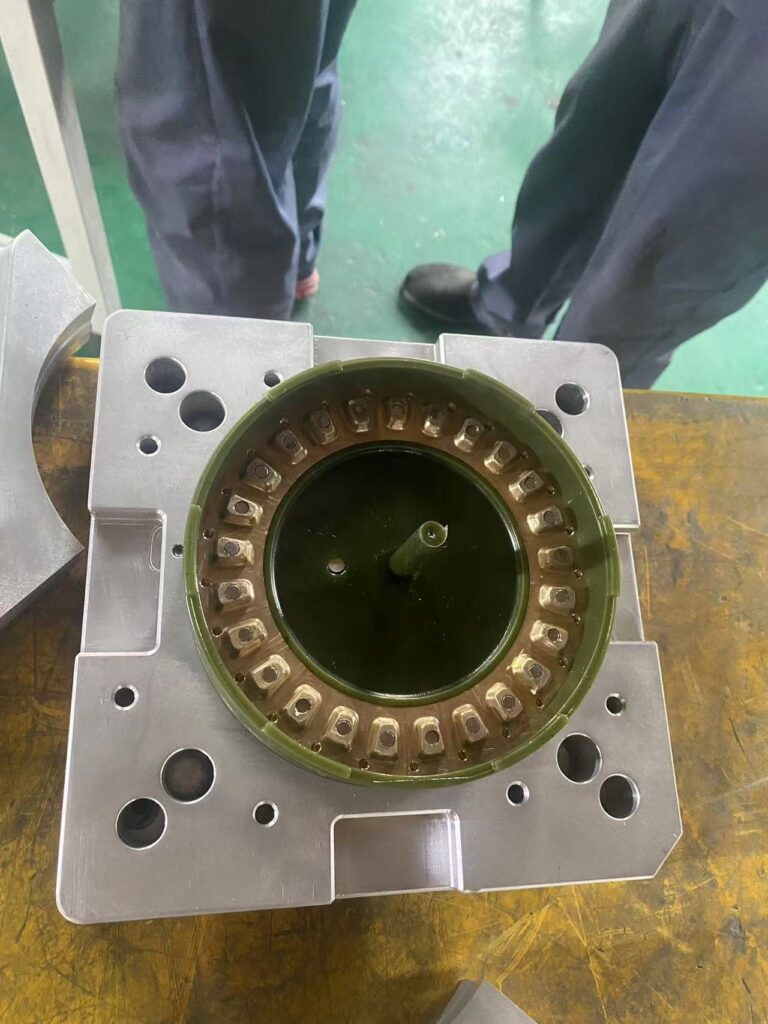
An investment casting mold—also referred to as investment casting tooling or a wax pattern die—is a precision-engineered metal tool designed to create exact wax replicas of a desired metal component. We manufacture these dies to form the foundational wax patterns used in the lost wax process.
How Wax Injection Shapes Lost Wax Patterns
- Precision Injection: Molten or semi-solid wax is injected under high pressure into the investment casting mold cavity.
- Solidification: The wax rapidly cools into a stable, dimensionally accurate replica of the end product.
- Pattern Assembly: Wax patterns are attached to a central runner system to form a tree structure.
- Dewaxing: After building a ceramic shell around the wax, heat is applied to melt the wax out, leaving a flawless cavity for liquid metal.
Investment Casting Molds vs. Sand Casting Molds
| Feature | Investment Casting Mold | Sand Casting Mold |
|---|---|---|
| Tooling Material | Machined aluminum or tool steel | Compacted sand mixture around a pattern |
| Primary Function | Injects sacrificial wax patterns | Directly forms metal casting cavity |
| Surface Finish | Superior smoothness (Ra 1.6–3.2 µm) | Coarser surface texture (Ra 6.3–12.5 µm) |
| Dimensional Accuracy | Extremely high (tight tolerances) | Moderate to low tolerances |
| Tooling Reusability | Permanent metal die (up to 1,000,000+ cycles) | Sand mold destroyed after single pour |
Why Tooling Precision Controls Casting Quality
The surface finish, structural integrity, and dimensional accuracy of a final metal component directly mirror the initial investment casting mold. Any tolerance variation, scratch, or micro-defect inside the mold cavity transfers to the wax pattern and, ultimately, to the finished metal casting. Investing in high-precision pattern dies eliminates costly post-machining operations and ensures strict part-to-part repeatability across global supply chains.
Types of Molds Used in Investment Casting
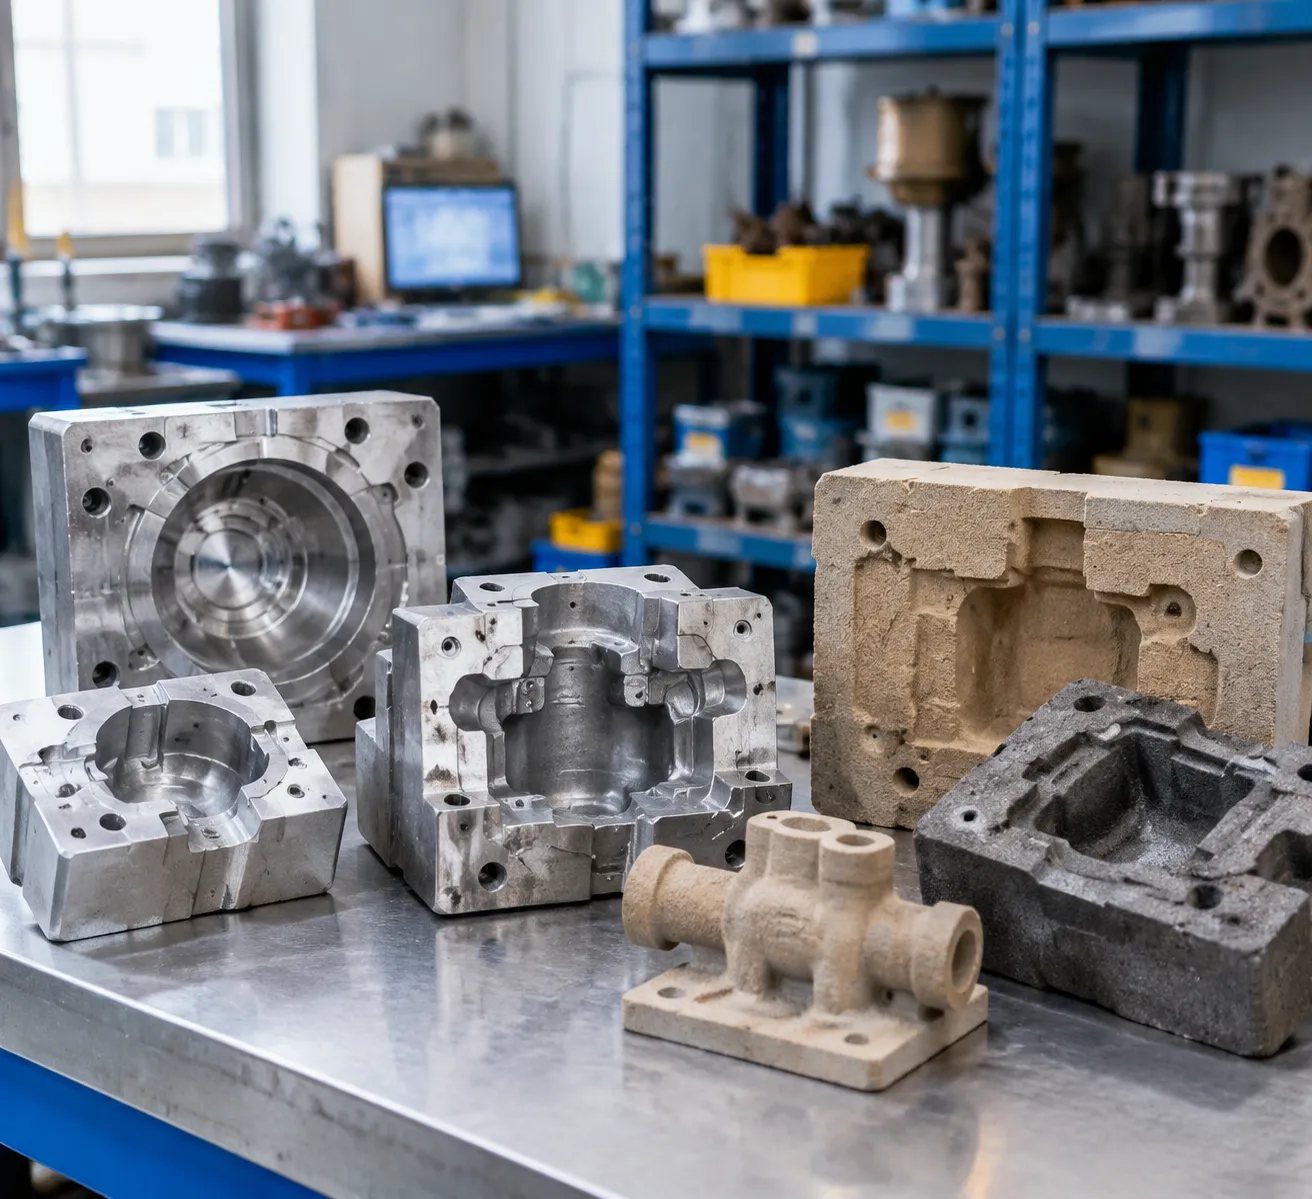
Choosing the right investment casting mold depends directly on your target volume, budget, and project schedule. We select specific tooling materials and manufacturing methods to optimize your cost per part without sacrificing dimensional precision.
| Mold Material | Target Volume | Primary Advantage | Best Application |
|---|---|---|---|
| Aluminum Tooling | 1,000 – 50,000 parts | Fast heat dissipation & quick machining | Medium production & quick turnarounds |
| Tool Steel Dies | 50,000+ parts | Maximum wear resistance & zero dimensional drift | High-volume mass production |
| Rapid 3D Molds | 1 – 500 parts | Eliminates hard tooling lead times | Prototyping & design validation |
| Silicone Molds | 1 – 50 parts | Lowest initial tooling cost | Pre-production visual samples |
Aluminum Pattern Tooling for Low to Medium Production
High-grade aluminum is our standard choice for mid-range manufacturing runs. It machines significantly faster than steel, which cuts down upfront tooling costs and shortens initial delivery times. Aluminum also transfers heat efficiently, allowing wax patterns to cool faster inside the cavity for higher hourly yields.
Steel Tooling for High Volume and Maximum Wear Resistance
For long-term production runs, a hardened tool steel casting mold is unmatched. Steel resists abrasive wax additives, high injection pressures, and mechanical wear over hundreds of thousands of cycles. It guarantees long-term repeatability with minimal die maintenance.
Rapid Tooling and 3D Printed Molds for Quick Prototyping
Additive manufacturing allows us to bypass conventional CNC cutting entirely for early-stage development. In addition to printing wax patterns directly, evaluating a 3D printed sand mold for rapid patternless precision casting can also accelerate initial component testing before committing capital to permanent metal dies.
Soft Silicone Molds for Low-Cost Sample Runs
Silicone molds provide a cost-effective solution when you only need a handful of master wax patterns for fit testing or visual evaluation. By pouring liquid silicone over a 3D-printed master pattern, we create flexible dies capable of producing accurate sample wax injections at a fraction of the cost of metal tooling.
Key Elements of Investment Casting Mold Design
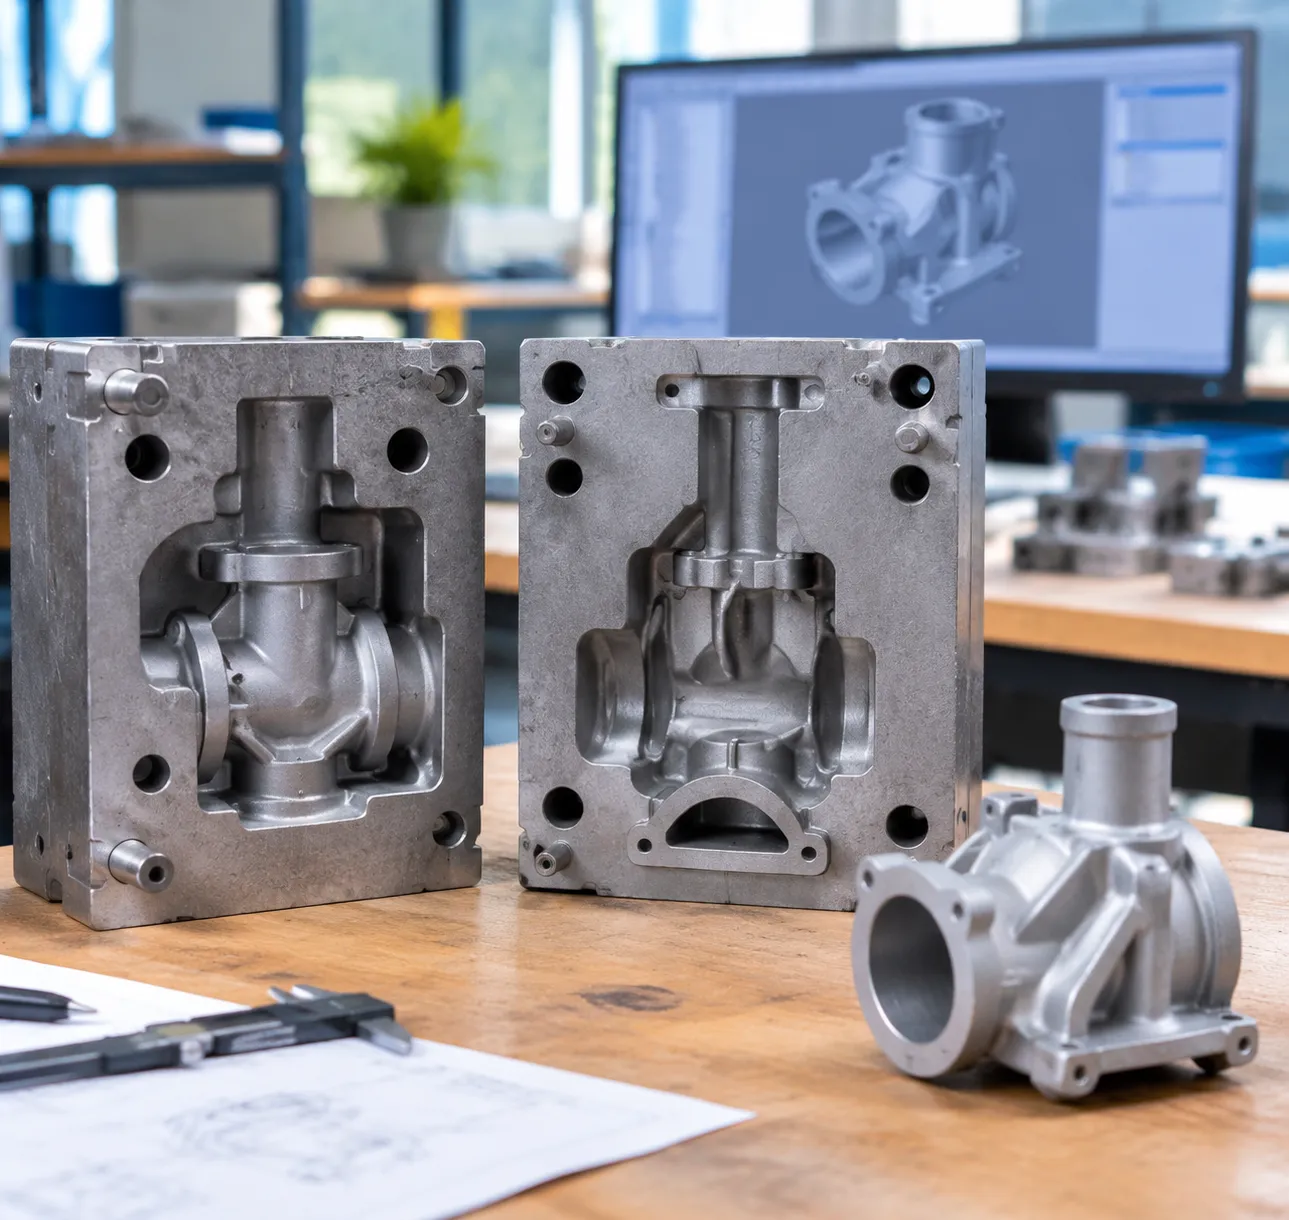
Designing a precision wax pattern die requires exact engineering to ensure final parts meet tight specs. When we build an investment casting mold, four core design elements dictate final product quality:
Shrinkage Allowance
Both the injected wax and the poured molten metal contract as they cool. We factor a dual-stage shrinkage calculation directly into the cavity design so the finished metal component cures to exact dimensions. Factoring in these volumetric changes is essential for maintaining strict metal investment casting process tolerances.
Parting Lines, Draft Angles, and Core Slides
- Parting lines: Placed across non-critical surfaces to prevent seam lines on functional features.
- Draft angles: Tapered walls (typically 0.5° to 2°) allow clean wax pattern ejection without distortion.
- Core slides: Moving side-actions form complex undercuts and internal hollows without damaging the wax.
Gating Systems and Runner Channels
We engineer optimized runner channels and gating entry points directly into the tooling layout. Balanced flow paths keep wax moving smoothly during injection, eliminating trapped air pockets, voids, and flow lines.
Thermal Management and Internal Cooling Channels
Integrated cooling lines run through the mold body to control temperature during rapid injection cycles. Even heat dissipation prevents sink marks in thicker sections and reduces cycle times.
Step-by-Step Investment Casting Mold Manufacturing Process
Building a high-performance investment casting mold requires absolute precision at every phase. We turn digital designs into durable, high-yield precision casting dies through a structured four-step manufacturing workflow.
1. 3D CAD Modeling and Mold Flow Simulation
We start by developing complete 3D CAD models of the wax pattern die. At this stage, we calculate the exact mold shrinkage allowance to compensate for both wax contraction and metal cooling. Running advanced flow simulations lets us analyze wax behavior inside the cavity, eliminating air traps and sink defects before cutting any metal.
2. CNC Machining of Mold Cavities and Cores
With the digital model finalized, we shift to multi-axis CNC milling. Applying high-level precision materials and CNC machining standards, we mill the primary cavities, cores, and runner channels out of high-grade aluminum or tool steel blocks to achieve strict tolerances.
3. Surface Polishing and Mirror Finishing
Because every micro-scratch on a wax injection mold transfers directly to the pattern, surface finishing is vital. Technicians polish the cavity walls to a mirror finish, ensuring smooth wax release and clean surface aesthetics on the final parts.
4. Tool Assembly and Trial Wax Testing
In the final step, we assemble the complete investment casting tooling:
- Ejector Pin Assembly: We install and calibrate the ejector pin assembly and core slides to guarantee clean pattern ejection without warping.
- Fitment Verification: Parting lines and guide pins are locked tight to prevent wax flash during high-pressure injection.
- Trial Injection: We run test wax shots to verify critical dimensions, cooling times, and overall cavity filling before releasing the tool for production.
Factors Influencing Investment Casting Mold Costs
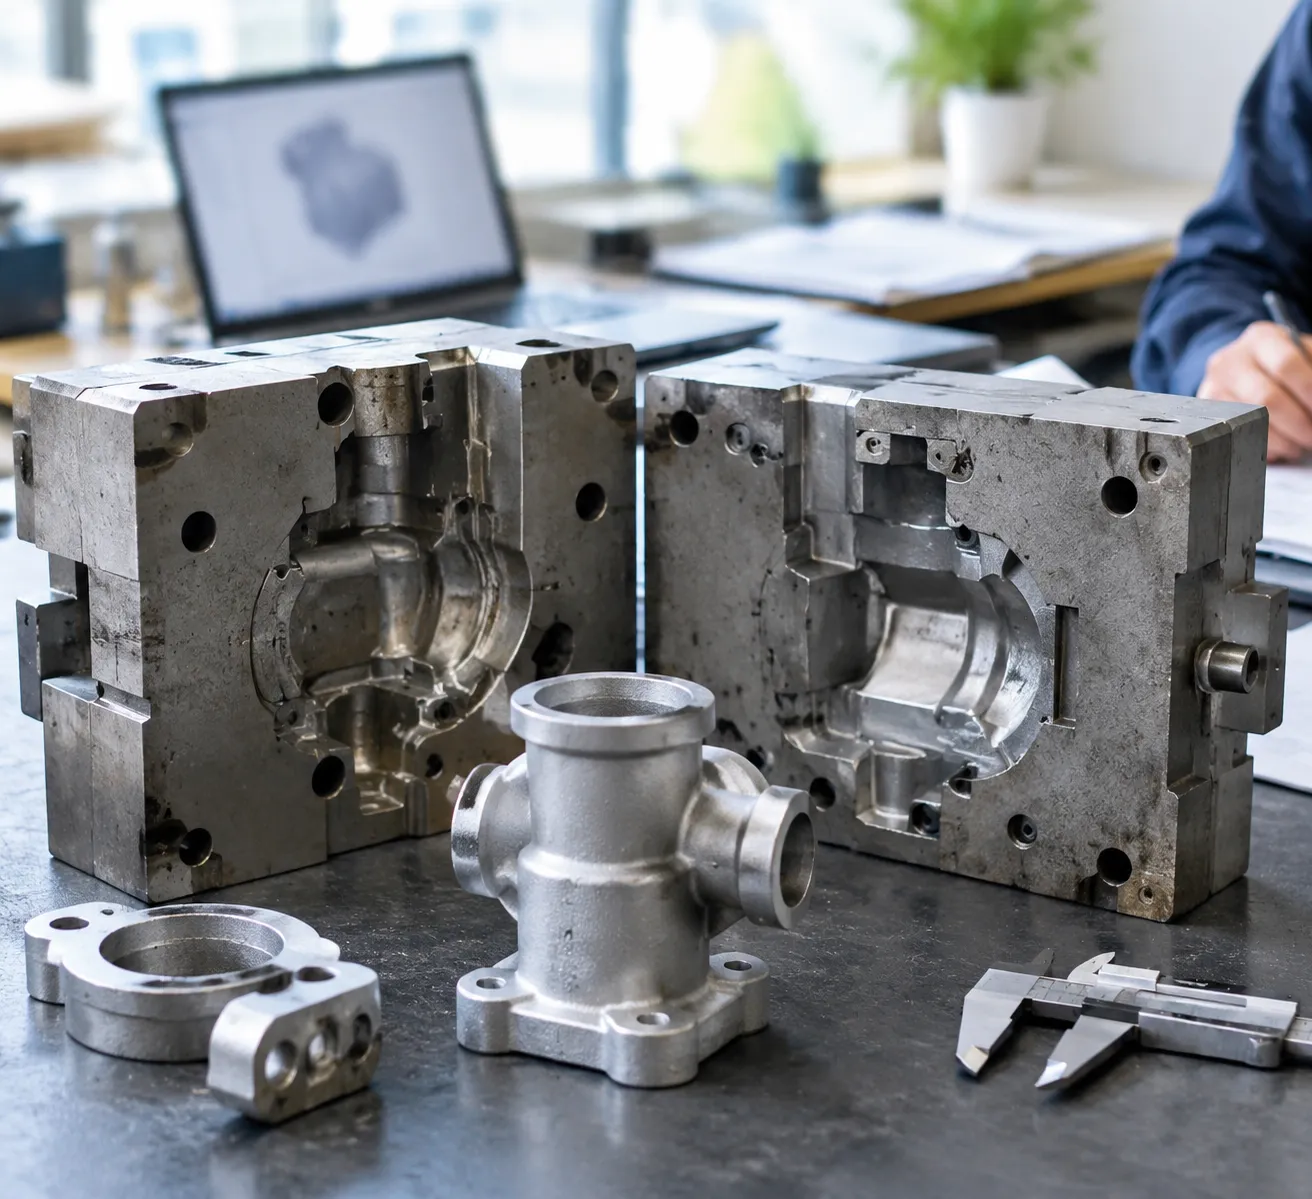
When we evaluate an investment casting mold cost, four primary drivers dictate your total upfront tooling investment. Balancing these factors ensures you get high-precision wax patterns without overspending on unused die capacity.
Tooling Material: Aluminum vs. Tool Steel
The choice of metal for your investment casting mold directly controls both tooling expense and manufacturing lead time:
| Spec / Feature | Aluminum Tooling | Tool Steel Mold |
|---|---|---|
| Upfront Cost | Lower investment | Higher investment |
| Machining Speed | Fast CNC milling | Slower, requires heat treatment |
| Die Lifespan | 10,000 – 50,000 wax cycles | 100,000+ wax cycles |
| Best Application | Low-to-medium volume, prototyping | High-volume production runs |
For lightweight components and fast turnaround projects, using aluminum investment casting tooling offers the best balance of speed and affordability.
Key Cost Drivers
- Part Geometry Complexity: Deep cavities, undercuts, and thin wall sections require multi-piece cores and automated side slides, which add precision machining labor.
- Production Volume & Lifespan: High-volume programs justify a hardened tool steel casting mold to withstand millions of injection cycles without surface wear.
- Fast-Track Rapid Tooling: When speed is critical, short-run rapid tooling for casting skips full CNC die production by utilizing 3D-printed wax dies or silicone master molds.
- Shrinkage & Material Specs: Complex component designs, especially those targeting specialized custom stainless steel casting grades, require exact mold shrinkage adjustments to avoid costly secondary die modifications.
How to Maintain and Extend Investment Casting Mold Lifespan
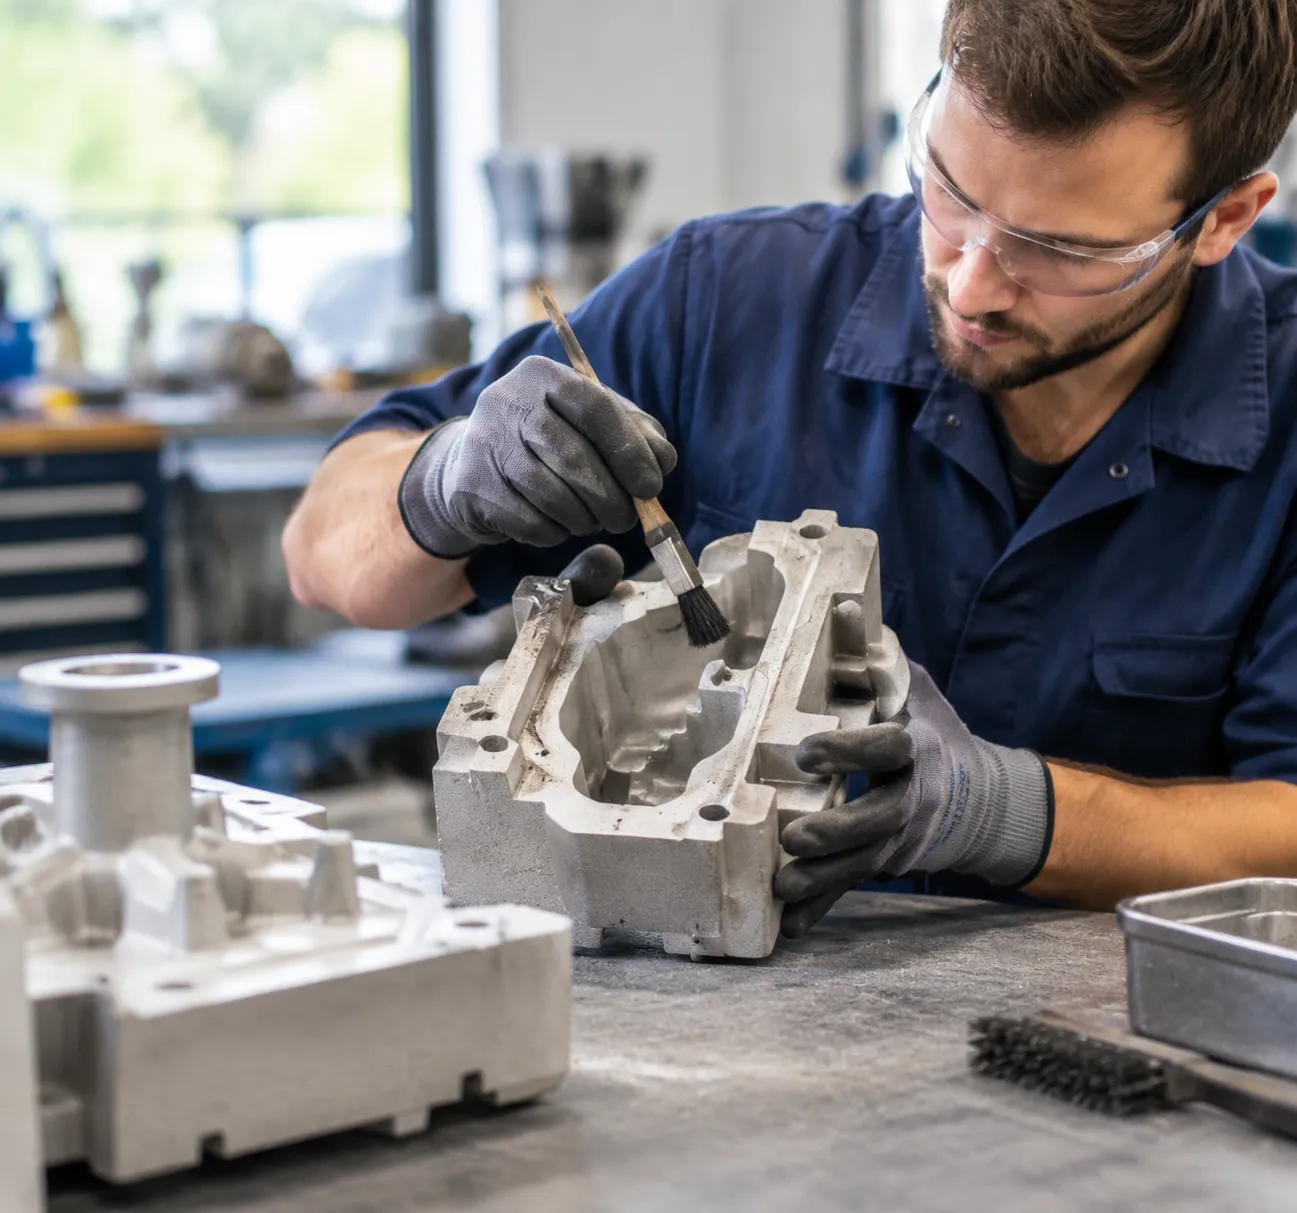
A high-precision investment casting mold requires consistent care to produce millions of accurate wax patterns. Implementing a disciplined maintenance routine protects your tooling investment, prevents costly downtime, and maintains tight dimensional tolerances over the tool's lifespan.
Clean Cavities Without Scratching
Wax residues build up naturally during injection cycles. Never use steel scrapers, wire brushes, or harsh chemicals that can scratch polished cavity surfaces. Approved solvents: Use warm citrus-based cleaners or soft wax-dissolving degreasers. Safe tools: Clean surfaces with microfiber towels, brass scrapers, or wooden sticks to protect mirror finishes.
Lubricate Moving Assemblies
Friction causes mechanical wear on moving cores and mechanical components. Ejector pins and slides: Apply a light coat of high-temperature, non-staining lubricant to the ejector pin assembly and core slides before every production run. Alignment features: Keep leader pins and bushings clean and lubricated to prevent galling when opening and closing precision casting dies.
Store Tooling in Climate-Controlled Environments
Humidity and temperature changes cause condensation, leading to rust on tool steel and oxidation on aluminum pattern tooling. Before placing a wax injection mold into storage: 1. Thoroughly clean off all residual wax and moisture. 2. Apply a heavy-duty rust-preventative spray across all polished cavities and core surfaces. 3. Lock the mold shut and store it in a temperature-regulated, low-humidity storage area.
Run Scheduled Inspections
Following proven mold and cast maintenance methods helps us spot wear before it causes pattern defects. We perform regular CMM dimensional checks on critical features, inspect parting lines for wear that leads to wax flash, and replace worn ejector pins proactively.
Frequently Asked Questions About Investment Casting Molds
How long does a custom investment casting mold last?
Tooling lifespan depends primarily on the material used and production care: Aluminum Tooling: Delivers 10,000 to 50,000 wax injection cycles. Tool Steel Casting Mold: Easily exceeds 100,000 to 500,000+ pattern injections with proper maintenance. Rapid Tooling / Soft Molds: Ideal for short prototype runs of 50 to 500 pieces.
Can an existing investment casting mold be modified?
Yes, we can modify existing precision casting dies if design changes require removing material (using CNC milling or wire EDM). Adding material back into a cavity is trickier but doable through precision welding or core inserts. Significant structural changes usually make building a new investment casting mold more cost-effective.
What is the average lead time to build a wax injection mold?
Standard lead times range from a few days to several weeks: Rapid 3D Printed / Silicone Dies: 3 to 7 days. Aluminum Pattern Tooling: 2 to 4 weeks. Hardened Steel Tooling: 4 to 8 weeks.
How do you prevent sink marks and defects during wax injection?
Sink marks happen when internal wax sections shrink faster than the outer skin. We eliminate these defects by: Maintaining precise injection pressure and melt temperature on a dedicated wax injection machine for investment casting. Placing internal chill blocks or cooling pins near heavy cross-sections. Adjusting the gate size and shrinkage allowance when we design and make a mold for wax casting. Increasing dwell time under pressure so wax fills the entire die cavity thoroughly before ejection.
 English
  Russian
  German