
2026年9月27日
Learn the wax casting method with clear steps materials benefits and expert tips for creating detailed durable metal castings successfully
Understanding the Wax Casting Method
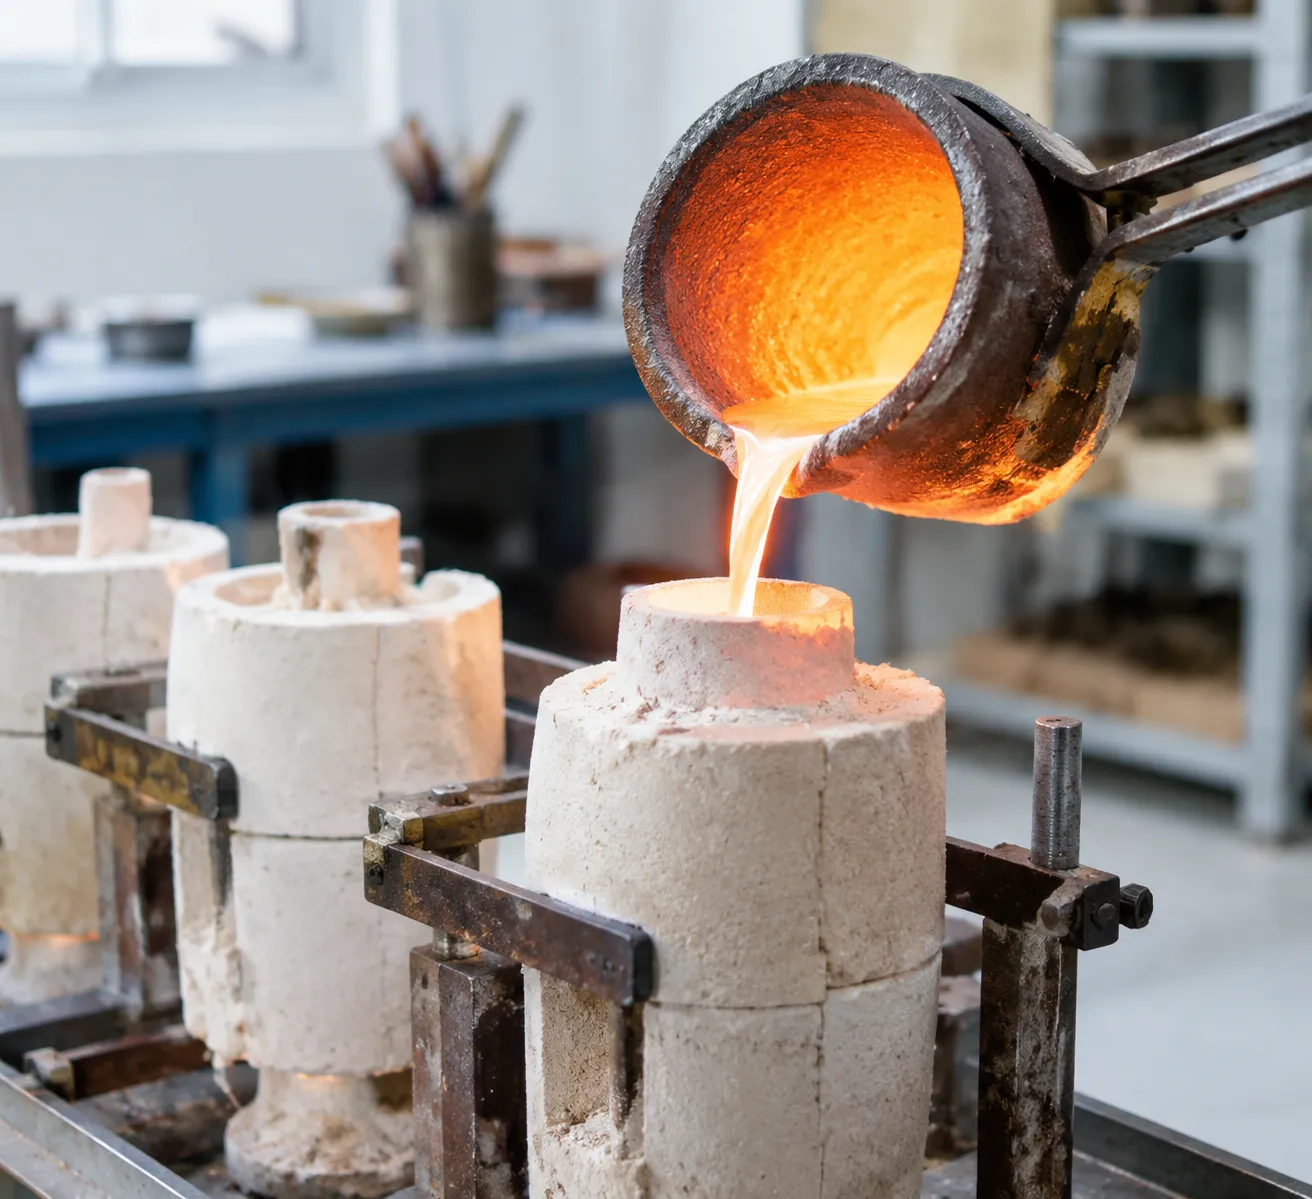
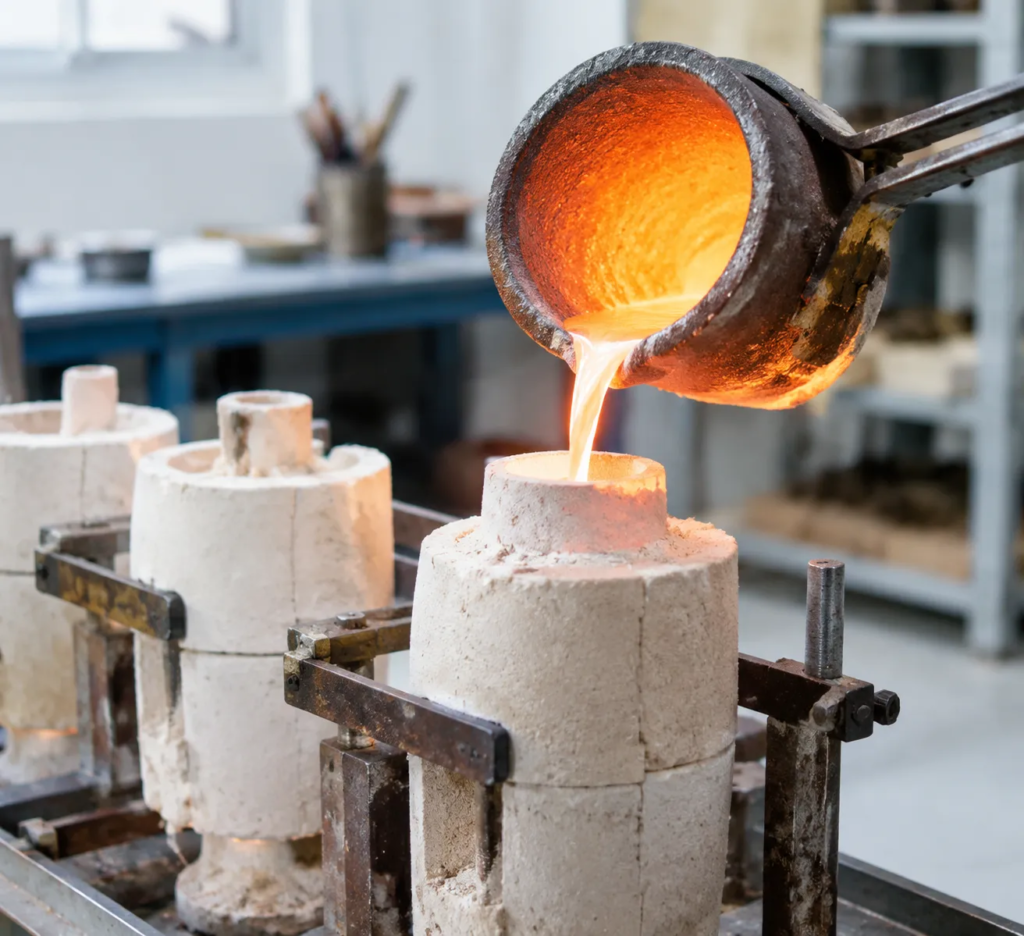
The wax casting method, widely known as the lost-wax investment casting method, delivers exceptional dimensional accuracy, intricate geometry, and superior surface finish across diverse metal alloys. We utilize this technique to manufacture complex components that are difficult or impossible to produce using conventional machining or traditional sand casting.
Core Principle of Lost-Wax Investment Casting
The fundamental principle of the lost wax casting process relies on a sacrificial pattern:
- Pattern Replication: We form a disposable pattern out of specialized casting wax that precisely matches the final component's geometry, scaled to compensate for metal shrinkage.
- Ceramic Shell Construction: The wax pattern is repeatedly dipped into liquid refractory slurry and coated with ceramic stucco to build a rigid, heat-resistant shell.
- The "Lost Wax" Stage: Once the shell hardens, we heat the assembly to melt and drain the wax completely, leaving a hollow, seamless negative cavity.
- Metal Pouring: Molten metal is poured directly into the preheated ceramic mold, capturing micro-level details before the shell is knocked off and discarded.
How the Modern Wax Casting Process Works
Modern precision metal casting elevates this ancient technique into a high-yield, digitally integrated production workflow.
- Wax Pattern Production: Tooling dies inject molten wax under controlled pressure, or high-resolution 3D printers directly produce castable resin patterns.
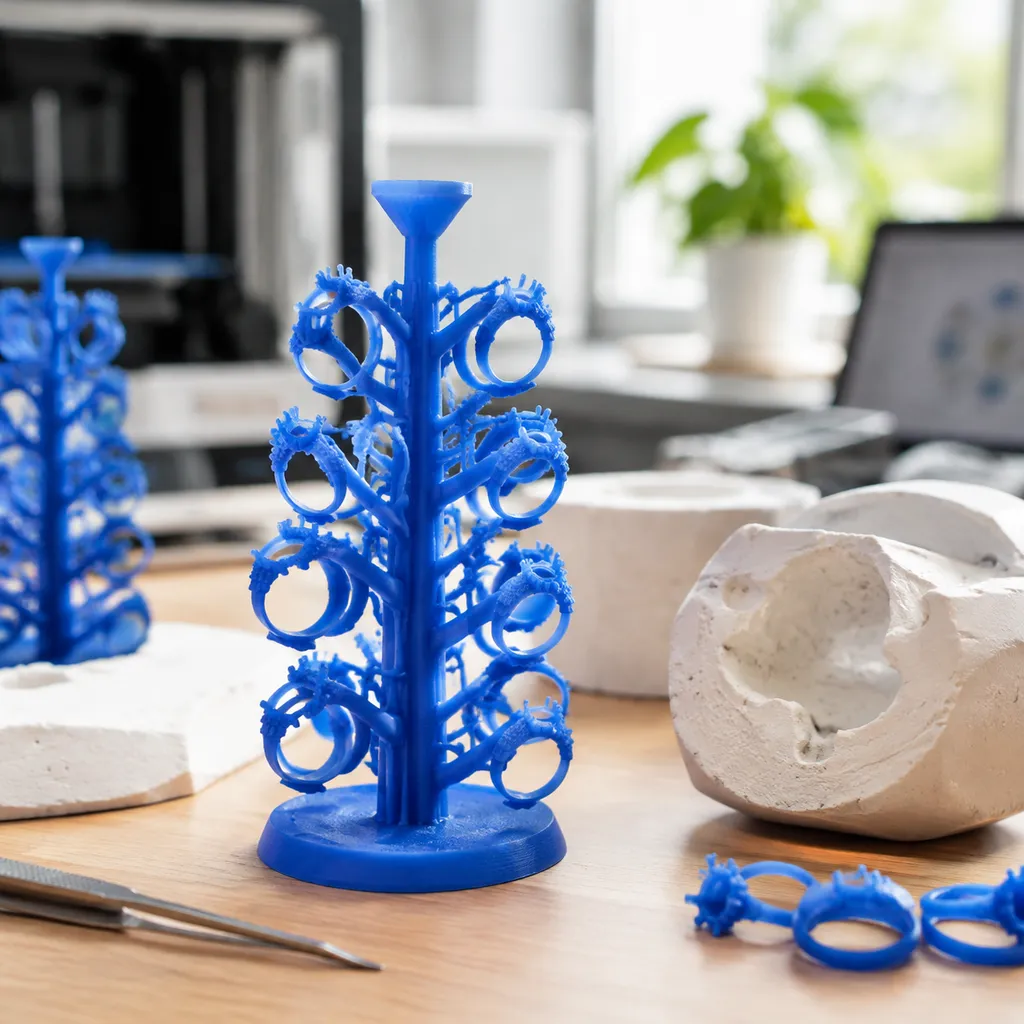
- Sprue Tree Assembly: Multiple wax patterns attach to a central wax runner system to optimize metal flow and feeding dynamics.
- Robotic Slurry Dipping: Automated arms dip the wax assembly into advanced ceramic slurries to ensure uniform shell thickness.
- Controlled Burnout & Pouring: High-temperature kilns eliminate wax residue and sinter the ceramic. We then pour molten alloy using vacuum-assisted or centrifugal casting systems to eliminate air entrapment.
Key Industrial and Artisanal Applications
| Industry | Typical Components | Primary Materials Used |
|---|---|---|
| Aerospace & Defense | Turbine blades, fuel nozzles, structural brackets | Nickel-base superalloys, titanium, stainless steel |
| Medical & Dental | Orthopedic knee/hip implants, surgical tools, dental copings | Cobalt-chrome alloys, medical-grade titanium |
| Jewelry & Luxury Goods | Rings, high-detail filigree, custom bezels | Gold, platinum, sterling silver, bronze |
| Automotive & Marine | Turbocharger impellers, exhaust manifolds, marine fittings | Aluminum alloys, stainless steel, ductile iron |
Step-by-Step Wax Casting Workflow
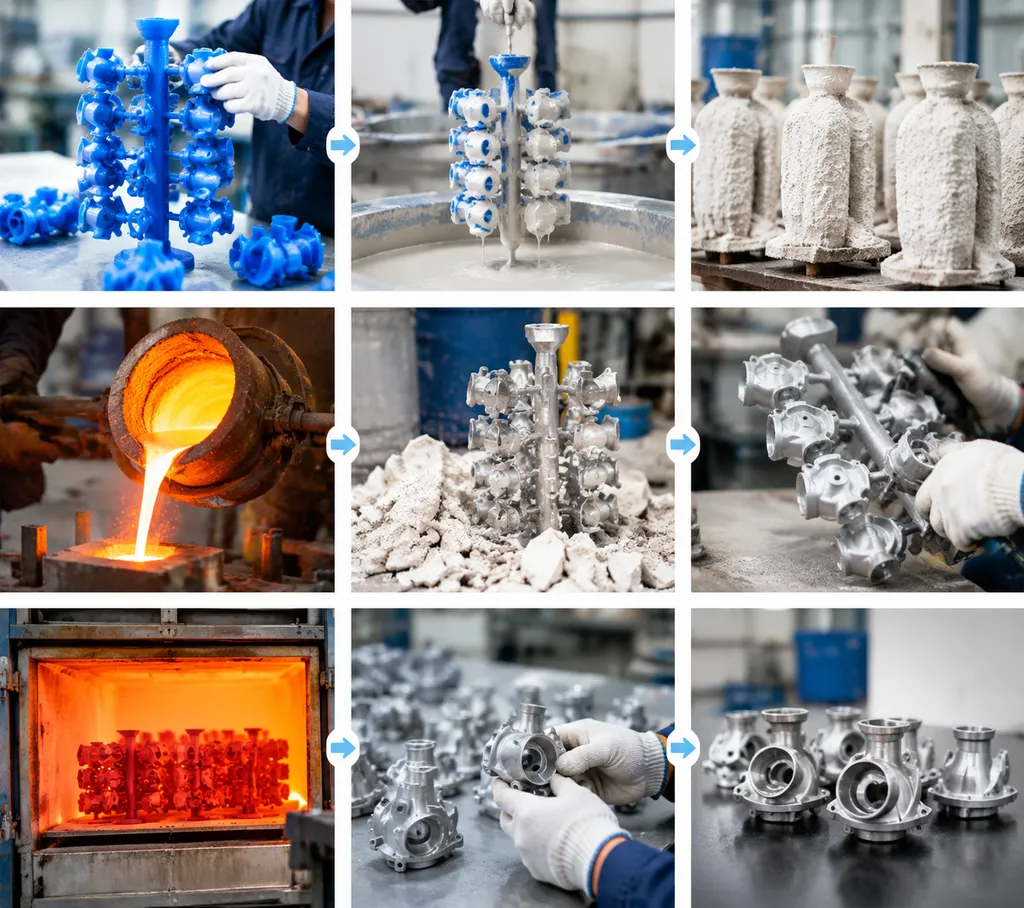
Executing a flawless wax casting method requires absolute control over temperature, timing, and material integrity at every stage. We break our foundry and workshop workflow down into eight practical steps to ensure clean pours, tight tolerances, and zero defects.
| WAX CASTING PROCESS WORKFLOW | | 1. Master Tooling --> 2. Pattern Injection --> 3. Tree Assembly | | (Machined Mold/Print) (Wax/Resin Duplication) (Strategic Sprue Layout) | + | | 4. Ceramic Shelling --> 5. Dewax & Burnout --> 6. Pouring & Casting | | (Slurry Dip + Stucco) (Autoclave + Kiln) (Vacuum / Centrifugal) | | | 7. Divesting & Cutoff --> 8. Post-Processing --> 9. Final Inspection | | (Shell Knockout) (Grinding & Polish) (NDT / CMM Verification) |
1. Creating the Master Pattern and Master Mold
Every precision metal casting run begins with an exact replica of the target geometry: Tooling construction: We fabricate master tooling out of aluminum or steel via high-speed CNC machining for high-volume jobs, or pour vulcanized liquid silicone rubber around hand-carved master models for jewelry and art pieces. Shrinkage calculation: We always build a precise volumetric scale factor (typically 1.5% to 3.5%, depending on wax blend and target alloy) into the mold cavity to offset both wax shrinkage and metal solidification contraction.
2. Injecting Wax Patterns and Pattern Inspection
Using high-pressure or vacuum wax injectors, molten pattern wax fills the mold cavity: Operating parameters: We maintain injector temperatures strictly between 65°C and 72°C (149°F–162°F) under 0.2 to 0.5 MPa of injection pressure to avoid short shots or excessive flash. Defect screening: Once cooled and ejected, each wax pattern undergoes visual and dimensional inspection. We clean parting lines with surgical blades and reject any patterns showing sink marks, air pockets, or warpage.
3. Assembling the Wax Pattern Tree and Sprue Gating Design
Individual wax pieces are fused to a central wax runner to create a rigid assembly called a sprue tree: Gating physics: We orient components to promote directional solidification, placing the thickest sections near the main feeder to eliminate shrinkage voids. Thermal balance: Fillet welds using hot wax pens ensure smooth metal flow and prevent sharp ceramic edges from breaking off inside the mold during metal filling.
4. Applying Investment Slurry and Ceramic Shell Building
The assembled tree is coated in multiple refractory layers to build a rigid, heat-resistant shell: Primary coat: We submerge the tree into an ultra-fine zircon or colloidal silica refractory slurry dipping tank, then coat it with fine fused-silica sand to capture intricate surface textures. Backup layers: After controlled drying cycles, we repeat the process with coarser refractory stucco 5 to 8 times until the ceramic shell reaches a structural thickness of 6 mm to 10 mm.
Understanding the balance between slurry viscosity, dry times, and shell thickness is critical when weighing the advantages and disadvantages of lost wax casting against alternative mold-making operations.
5. Dewaxing and High-Temperature Burnout Oven Cycle
Once the shell is cured, we remove the internal wax without cracking the fragile ceramic: Flash dewaxing: The assembly enters a steam autoclave at 160°C to 180°C (320°F–356°F) under 0.7 MPa. Rapid heating expands the outer wax boundary inward, venting 95% of the molten wax out of the pour cup within minutes. Burnout cycle: We transfer the dry shells to a burnout kiln cycle ramping from 900°C to 1100°C (1652°F–2012°F). This step sinters the ceramic shell and burns away all residual carbon, leaving a completely hollow, sterile mold cavity.
+-------------------------------------------------------------------------+ | BURNOUT KILN PROFILE OVERVIEW | +-------------------------------------------------------------------------+ | Stage 1: 150°C - 200°C | Moisture Removal & Initial Wax Runoff | | Stage 2: 450°C - 600°C | Carbon Elimination (Resin / Wax Ash Burnout) | | Stage 3: 950°C - 1100°C| Ceramic Sintering & Mold Pre-Heating for Pour | +-------------------------------------------------------------------------+
6. Metal Melting, Pouring, and Vacuum-Assisted Casting
Pouring metal while the ceramic mold is still preheated (700°C–900°C) prevents premature freezing and cold shuts: Melt control: We melt raw ingots in an induction furnace under an inert argon shield or vacuum to prevent melt oxidation. Assisted filling: Using a vacuum pressure casting machine or a centrifugal casting arm, we pull or force the molten metal into the thinnest walls of the mold cavity to guarantee 100% fill density.
7. Divesting, Shell Knockout, and Gate Removal
After the metal cools to room temperature, the expendable mold is removed: Shell removal: We break away the ceramic shell using pneumatic knockout hammers, high-pressure water-jet blasting (up to 70 MPa), or light chemical leaching baths. Cutoff: The cast parts are sliced away from the main central sprue using abrasive cut-off wheels, plasma torches, or bandsaws.
Evaluating the mold destruction process highlights clear operational differences in our lost wax casting vs sand casting workflows, particularly in turnaround time and direct tooling reclaim.
8. Post-Processing, Surface Polishing, and Final Inspection
The raw cast parts undergo finishing to meet precise project specifications: Surface treatment: Gate stubs are ground flush using CNC mills or abrasive belt sanders. Parts are then sandblasted with glass bead media to achieve uniform matte textures, or electropolished for a mirror finish. Quality verification: We perform non-destructive testing (NDT), including liquid penetrant inspection (LPI) for surface fissures, X-ray checks for sub-surface gas porosity, and CMM dimensional checks against the original CAD file.
Essential Equipment and Materials for Wax Casting
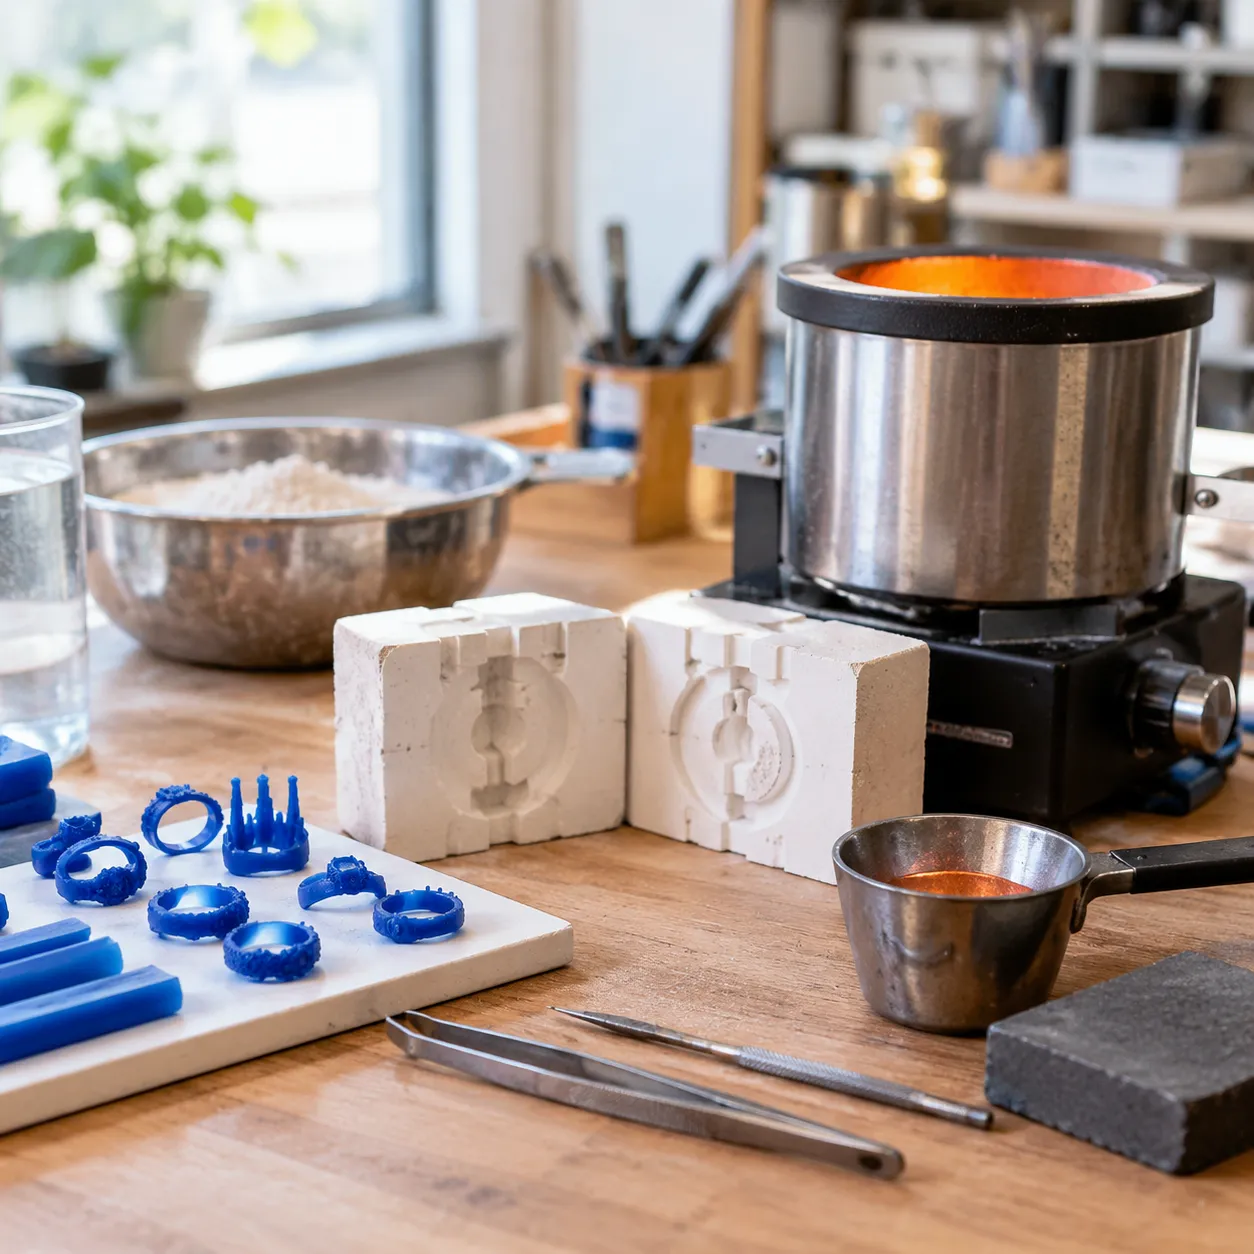
Achieving tight tolerances and clean surface finishes with the wax casting method comes down to using the right setup. We rely on a specific combination of specialized consumables, temperature-controlled tooling, and high-heat furnaces to produce flawless patterns and sound metal parts.
Types of Casting Waxes and Pattern Resins
Different stages of the lost wax workflow demand distinct wax formulations to balance thermal stability, flowability, and clean burnout:
- Injection Waxes: Formulated with low melting points (65°C to 75°C) and minimal shrinkage. We use these in production molds to capture fine details without sticking to aluminum dies.
- Carving and Machining Waxes: Harder, high-melting-point waxes designed for hand fabrication or CNC milling. They resist heat and tool deflection without melting during machining.
- Sticky and Assembly Waxes: Soft, adhesive waxes used to weld individual parts onto the central sprue tree assembly.
- 3D Castable Resins: Liquid photopolymers engineered for SLA/DLP printing. High-quality resins burn out cleanly leaving zero ash residue, making them ideal for rapid prototyping without metal tooling.
Investment Powders, Refractory Slurries, and Stucco Materials
The mold material must survive rapid thermal expansion and the hydrostatic pressure of molten metal. We select our refractory system based on the metal being poured:
| Mold Type | Primary Ingredients | Typical Application | Key Characteristics |
|---|---|---|---|
| Gypsum-Bonded Investment | Plaster of Paris, Cristobalite, Quartz | Gold, silver, brass, bronze | Easy to mix and break down; limited to metals melting below 1,150°C. |
| Ceramic Shell Slurry | Colloidal silica binder, Zircon flour, Fused silica | Stainless steel, cobalt alloys, aluminum | High refractory strength, thermal shock resistance, and zero ash reaction. |
| Stucco Grains | Aluminosilicate, Zircon sand (fine to coarse) | Shell reinforcement coats | Applied over wet slurry to build mechanical thickness and prevent mold blowouts. |
Burnout Kilns, Wax Injectors, and Casting Furnaces
Consistent execution requires precise thermal control at every stage:
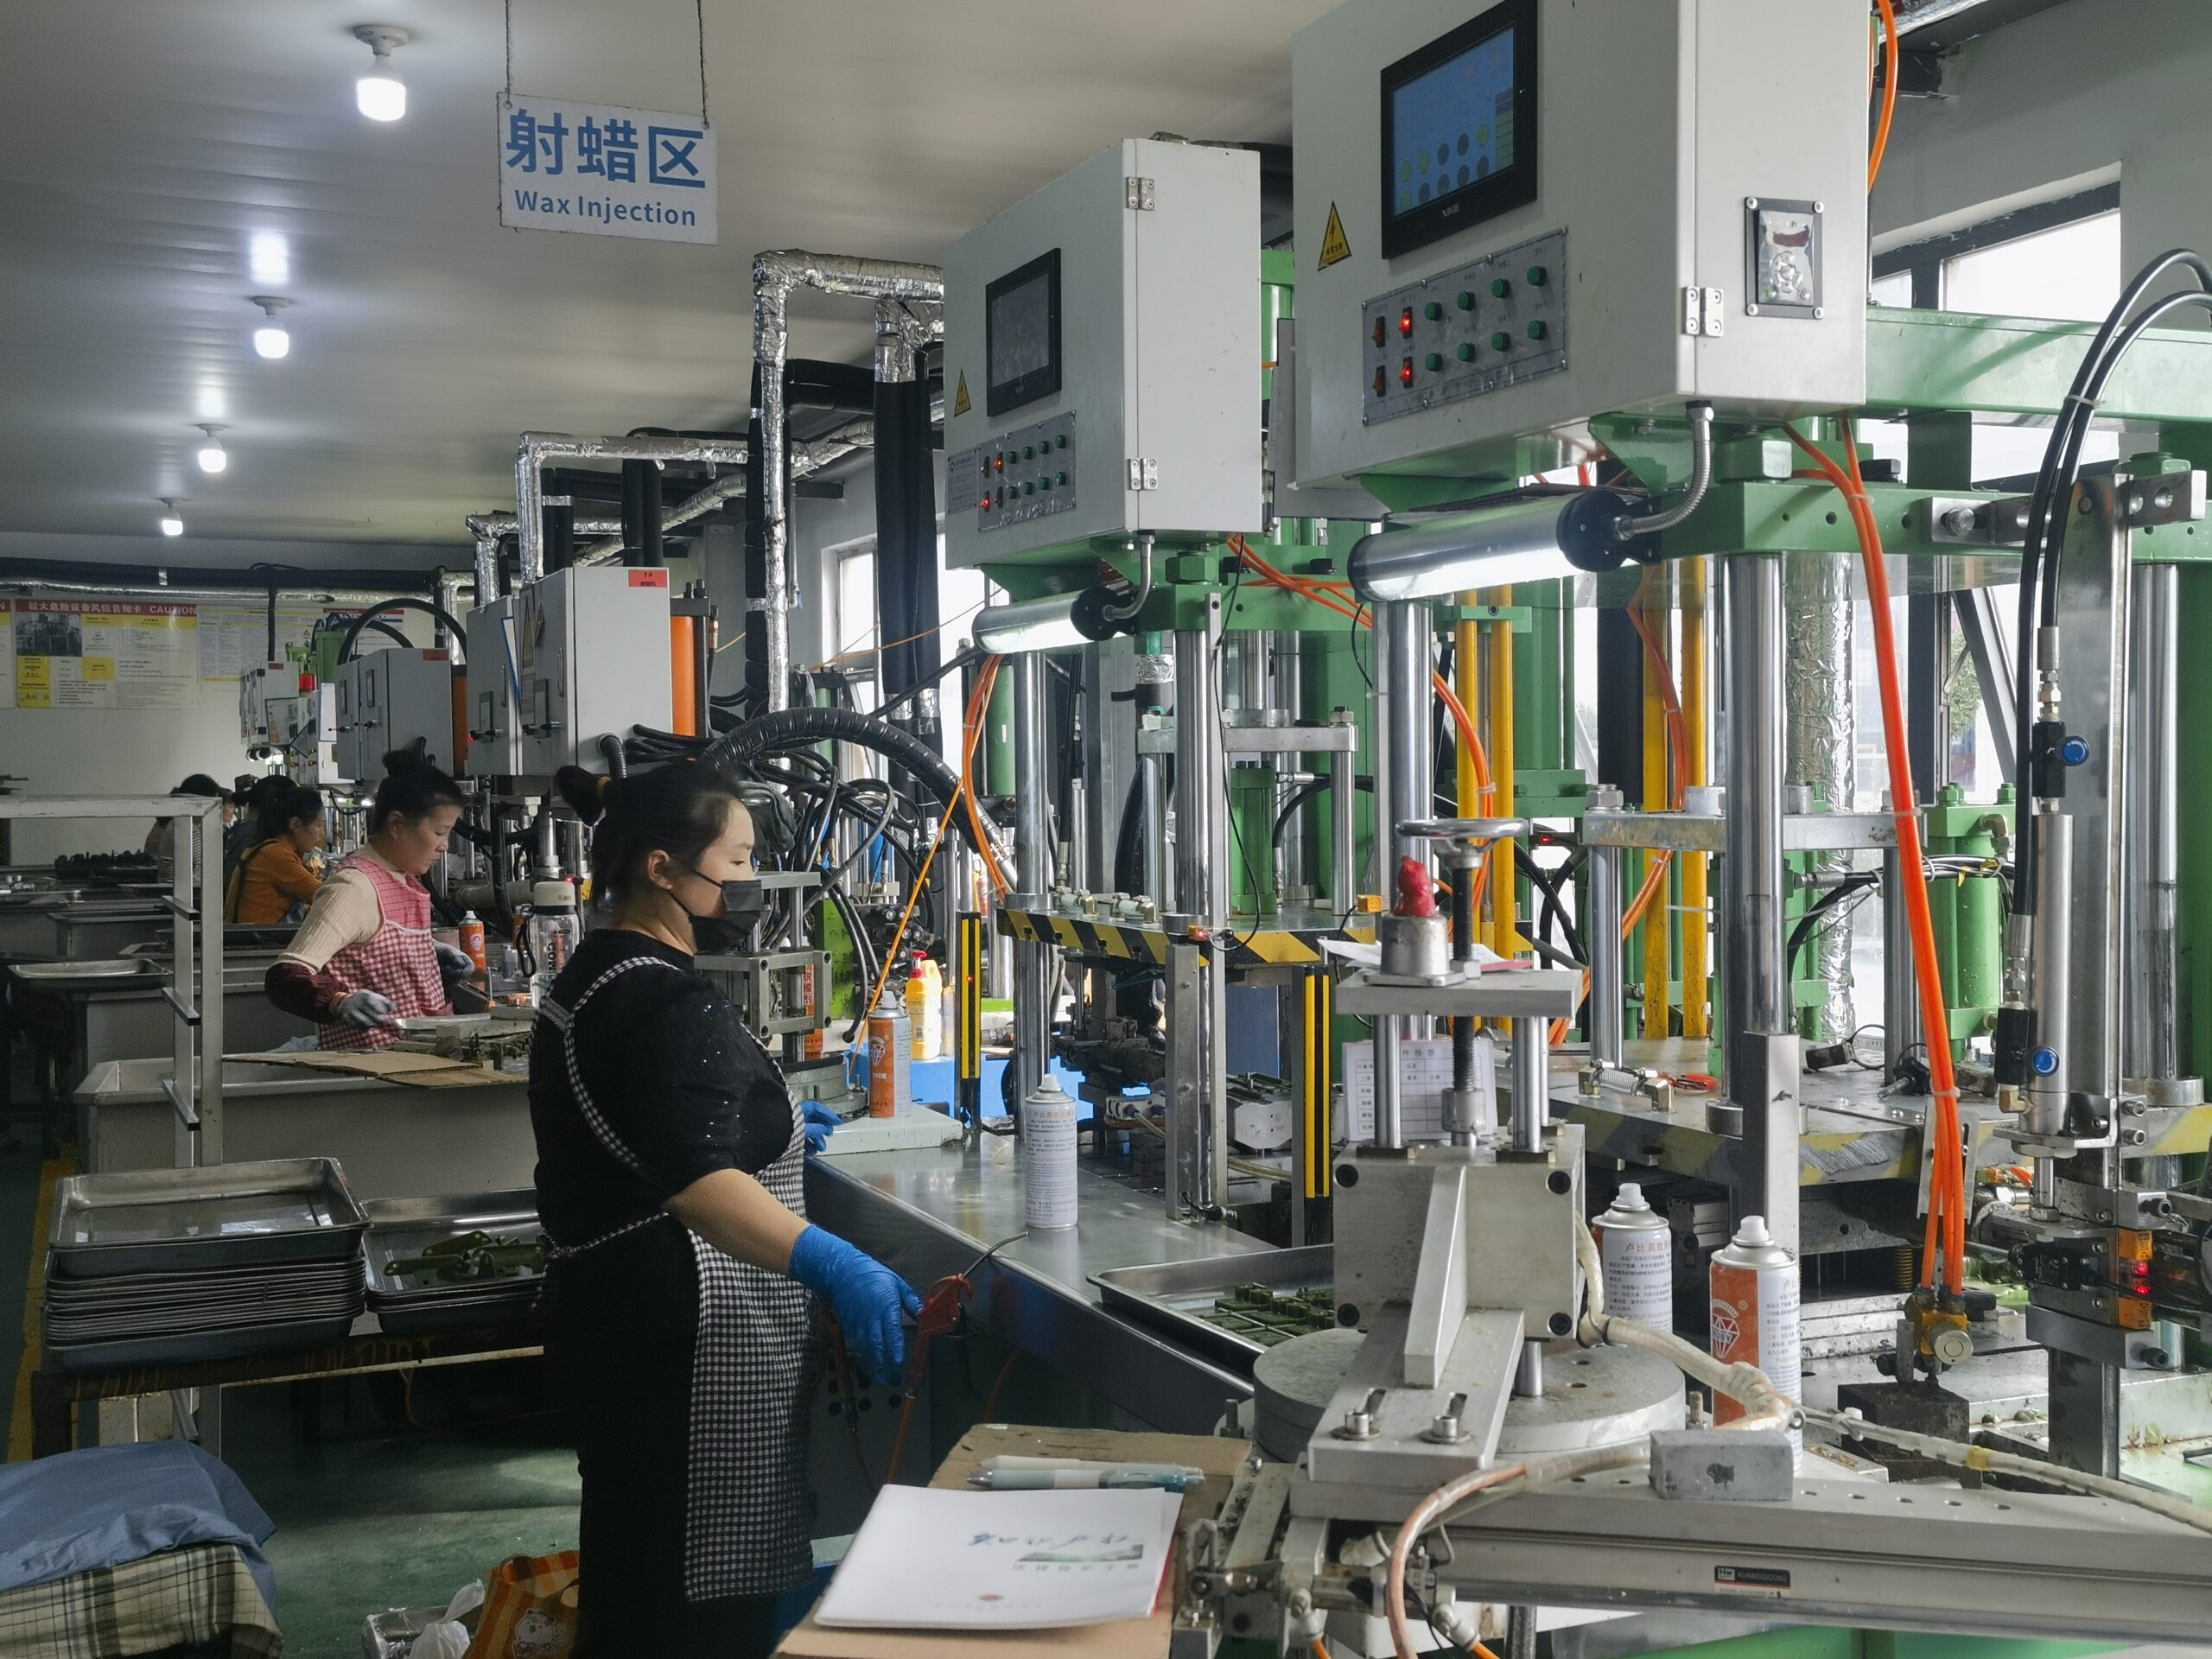
- Digital Wax Injectors: We use temperature-regulated, pneumatic or vacuum-assisted wax injectors. Vacuum-assisted units pull air from the mold cavity before injection, preventing trapped air bubbles.
- Programmable Burnout Kilns: Multi-stage digital kilns are non-negotiable. They manage controlled ramp rates to melt out the pattern, vaporize residual binders, and sinter the ceramic mold up to 1,000°C (1,832°F) without cracking the shell.
- Induction and Vacuum Casting Furnaces: Melting furnaces must match the alloy's requirements. We employ vacuum pressure casting machines and centrifugal casters to force dense, liquid metal into intricate, thin-walled cavities before solidification begins.
Compatible Metals and Alloys for Lost Wax Pouring
The wax casting method works across almost all commercial foundry metals. We regularly pour both non-ferrous and high-temperature ferrous alloys:
- Ferrous Alloys: Ideal for high-precision components requiring extreme wear and structural integrity. We rely on investment molds for casting stainless steel (304, 316, 17-4 PH) and carbon steels with minimal post-machining.
- Superalloys & Specialty Metals: Essential for aerospace and medical applications, such as high-temperature cobalt-based casting and nickel-based superalloys.
- Non-Ferrous Alloys: Aluminum, copper, brass, and bronze flow exceptionally well in investment molds, delivering smooth surface finishes and crisp edges.
- Precious Metals: Gold, silver, and platinum in jewelry production, where zero material waste and micro-detail reproduction are critical.
Traditional Wax Injection vs. 3D Printed Castable Resin
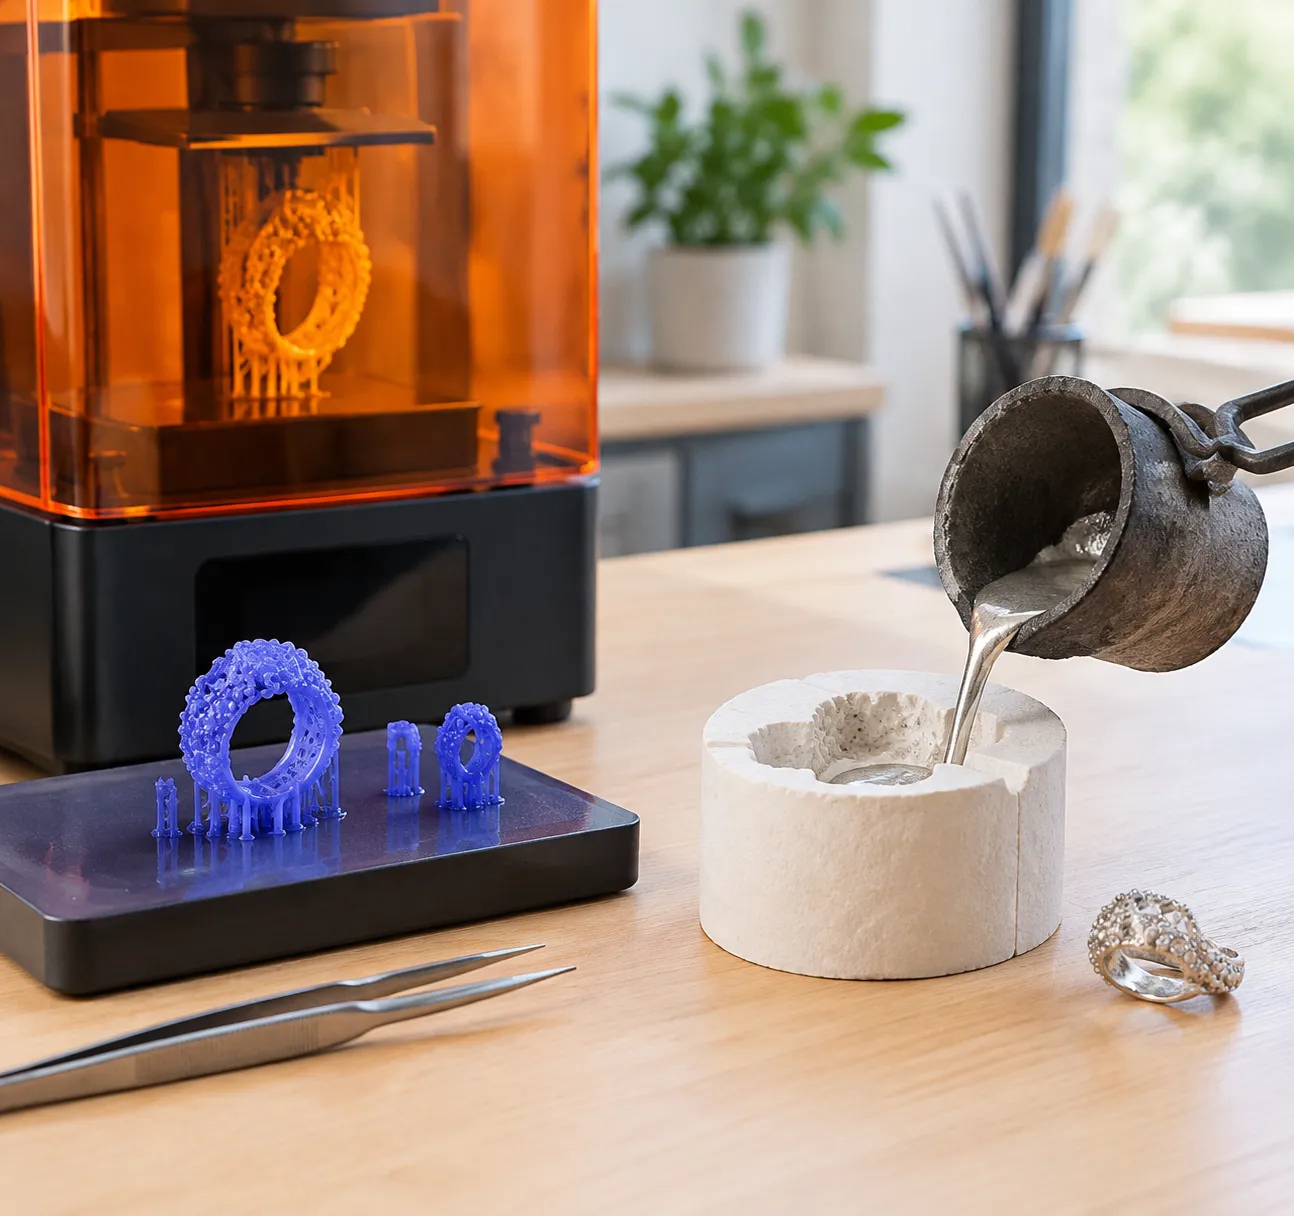
Modern foundries and custom workshops no longer rely solely on machined metal tooling. When planning a production run using the wax casting method, choosing between traditional wax injection and direct 3D printed castable resins fundamentally dictates your upfront tooling investment, turnaround speed, and unit economics.
Direct 3D Printing with Castable Photopolymer Resins
Direct 3D printing eliminates the need for expensive aluminum master dies. Using SLA, DLP, or LCD 3D printers, we print patterns directly from CAD files using photopolymer resins formulated with liquid wax or clean-burning polymers.
- Zero Tooling Required: Ideal for one-off bespoke jewelry, custom dental copings, rapid prototyping, and complex geometries with severe undercuts that cannot pull from a rigid mold.
- Instant Design Iterations: If a gating system or dimensional tolerance needs tweaking, we modify the 3D model and print an updated batch within hours.
- Material Behavior: Unlike injection wax, which melts out cleanly at low temperatures (around 150°F to 200°F / 65°C to 93°C), castable resin does not melt—it combusts. For a deeper look at material performance, review our breakdown of 3D printed wax vs injected wax for casting.
Speed and Tooling Cost Comparison
For mass manufacturing, injecting wax patterns using an industrial wax injection machine for investment casting provides the lowest unit cost and fastest cycle times. However, for low-volume runs, 3D printing bypasses weeks of mold machining.
| Factor | Traditional Wax Injection | 3D Printed Castable Resin |
|---|---|---|
| Initial Tooling Cost | High ($1,500 – $15,000+ for aluminum/steel molds) | Zero ($0 mold cost) |
| Lead Time to First Pattern | 1 to 4 weeks (mold CNC machining & polishing) | 2 to 6 hours (direct print from CAD) |
| Pattern Production Speed | 15 to 45 seconds per cycle | 2 to 8 hours per build plate |
| Cost Per Pattern (Volume) | Very Low ($0.05 – $0.50 per wax pattern) | Moderate to High ($2.00 – $20.00+ in resin) |
| Best Volume Fit | Medium to High Volume (50 to 100,000+ units) | Prototyping & Custom Runs (1 to 50 units) |
| Surface Finish | Ultra-smooth (as cast from polished tooling) | High detail, but may require layer-line smoothing |
Best Practices for Burning Out 3D Printed Resin Patterns
Resin patterns expand thermally during the early stages of heating before they ignite. If heated too fast, this expansion will crack the ceramic shell or investment mold. We follow these shop practices to guarantee clean, ash-free casting:
- Use High-Strength, Reinforced Investment: Standard jewelry investments can break under resin expansion. Use phosphate-bonded investments or high-refractory gypsum formulas designed specifically for rapid-burnout polymers.
- Ensure Adequate Oxygen Flow in the Kiln: Combusting resins require oxygen to burn out without leaving residual carbon ash. Keep kiln vents open and place flasks on perforated trays or ceramic stilts.
- Execute an Extended Burnout Cycle:
- Ramp slowly from room temperature up to 300°F (150°C) and hold for 1 to 2 hours to relieve thermal expansion pressure.
- Ramp steadily to the peak burnout temperature (1350°F to 1450°F / 730°C to 790°C) and hold for at least 2 to 4 hours to fully incinerate polymer chains.
- Drop to casting temperature and hold for 1 hour to stabilize the mold before pouring metal.
- Fully UV-Post-Cure Patterns: Never sprue or invest an uncured resin pattern. Incomplete curing leaves unpolymerized monomers that react chemically with the investment slurry, causing severe surface pitting and flashing on the final metal cast.
Wax Casting Method vs. Alternative Casting Techniques
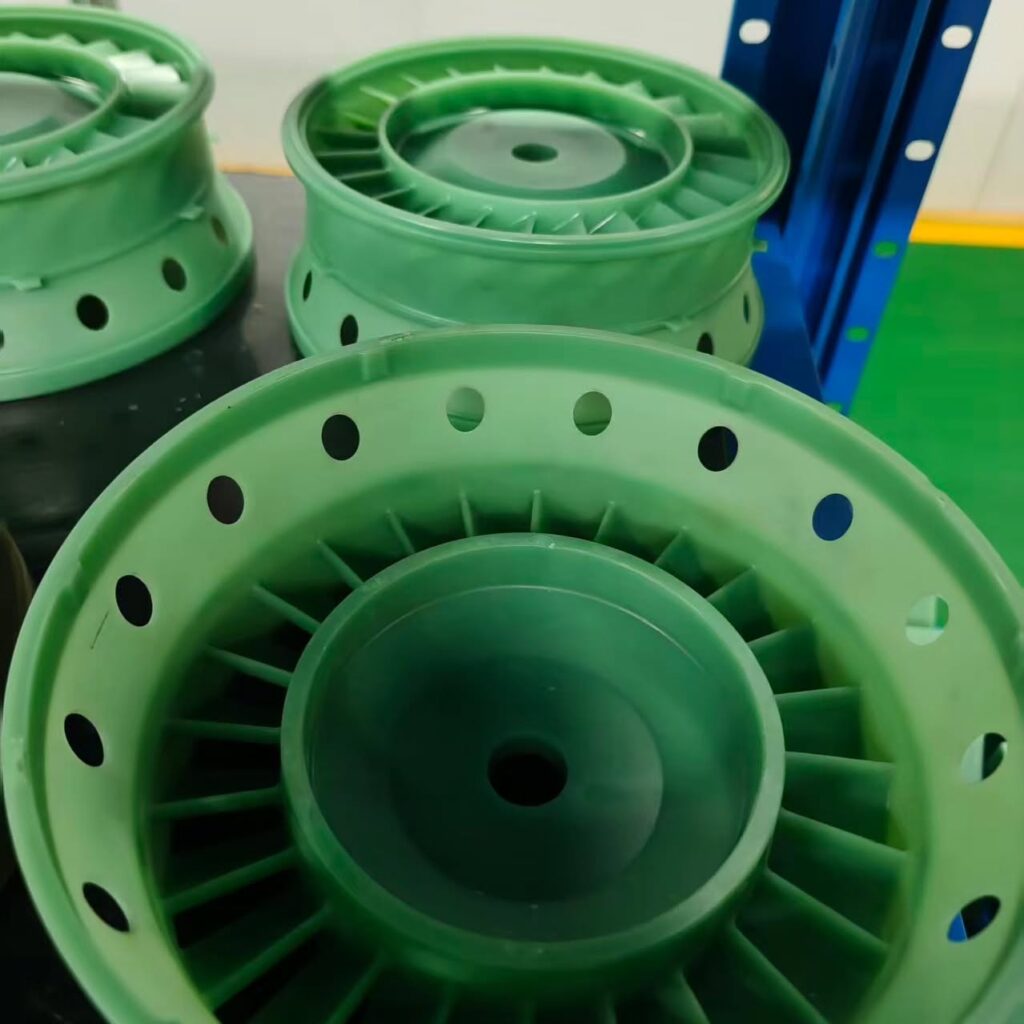
Choosing the right metal forming process comes down to balancing part complexity, surface quality, production volume, and upfront tooling investments. While the wax casting method is the gold standard for intricate geometry and superior surface finishes, understanding how it stacks up against sand casting and die casting helps pinpoint the most cost-effective route for your production run.
Lost Wax Casting vs. Sand Casting for Detail and Surface Finish
When tight tolerances and smooth surfaces matter, lost wax casting clearly outperforms sand casting.
- Surface Finish: Wax casting delivers a smooth finish (typically Ra 1.6–3.2 µm) straight out of the mold because the ceramic slurry coats the wax pattern with fine refractory particles. In contrast, sand casting leaves a pebbled, rough texture (Ra 6.3–12.5 µm) that often requires secondary machining or grinding.
- Feature Resolution: The wax casting method captures fine logos, thin-walled ribs, and complex internal channels that would wash out or collapse in green sand molds.
- Application Fit: For large, heavy structural components where surface roughness is acceptable, working with a sand casting manufacturer for custom metal parts remains the most economical route. However, when complex contours and net-shape precision are non-negotiable, our investment and precision casting services for metal parts provide superior dimensional stability.
Lost Wax Casting vs. Die Casting for Volume and Tooling Costs
The balance between wax casting and high-pressure die casting hinges on production volumes and upfront capital.
- Tooling Investment: Die casting requires hardened steel dies capable of handling extreme hydraulic pressures, driving tooling costs into the tens of thousands of dollars. Wax injection tooling is significantly less expensive because it only experiences low-pressure molten wax injection.
- Alloy Versatility: Die casting is primarily limited to non-ferrous metals with lower melting points (aluminum, zinc, magnesium). The wax casting method handles almost any alloy, including high-temperature stainless steels, nickel superalloys, bronze, and titanium.
- Production Volume: Die casting dominates ultra-high-volume runs (100,000+ parts) with cycle times measured in seconds. Wax casting excels in low-to-medium runs (tens to tens of thousands of parts) and allows for quick design iterations without scrapping expensive hardened dies.
Comprehensive Comparison: Tolerance, Wall Thickness, and Lead Time
| Parameter | Wax Casting Method (Investment) | Sand Casting | High-Pressure Die Casting |
|---|---|---|---|
| Standard Tolerance | ±0.1 mm to ±0.2 mm | ±0.5 mm to ±1.5 mm | ±0.05 mm to ±0.1 mm |
| Surface Roughness (Ra) | 1.6 – 3.2 µm (63 – 125 µin) | 6.3 – 12.5 µm (250 – 500 µin) | 0.8 – 1.6 µm (32 – 63 µin) |
| Minimum Wall Thickness | 1.0 mm (0.040 in) | 3.0 mm – 5.0 mm (0.12 – 0.20 in) | 0.8 mm – 1.5 mm (0.03 – 0.06 in) |
| Alloy Flexibility | Extremely High (Ferrous & Non-ferrous) | High (Cast iron, bronzes, aluminum) | Low (Non-ferrous only) |
| Tooling Cost | Moderate ($1,500 – $8,000) | Low ($500 – $3,000) | High ($15,000 – $60,000+) |
| Economic Batch Size | 1 to 50,000 pcs (1 pc with 3D print) | 1 to 5,000 pcs | 10,000 to 1,000,000+ pcs |
| Initial Tooling Lead Time | 2 – 4 Weeks | 1 – 3 Weeks | 6 – 12 Weeks |
Troubleshooting Common Wax Casting Method Defects
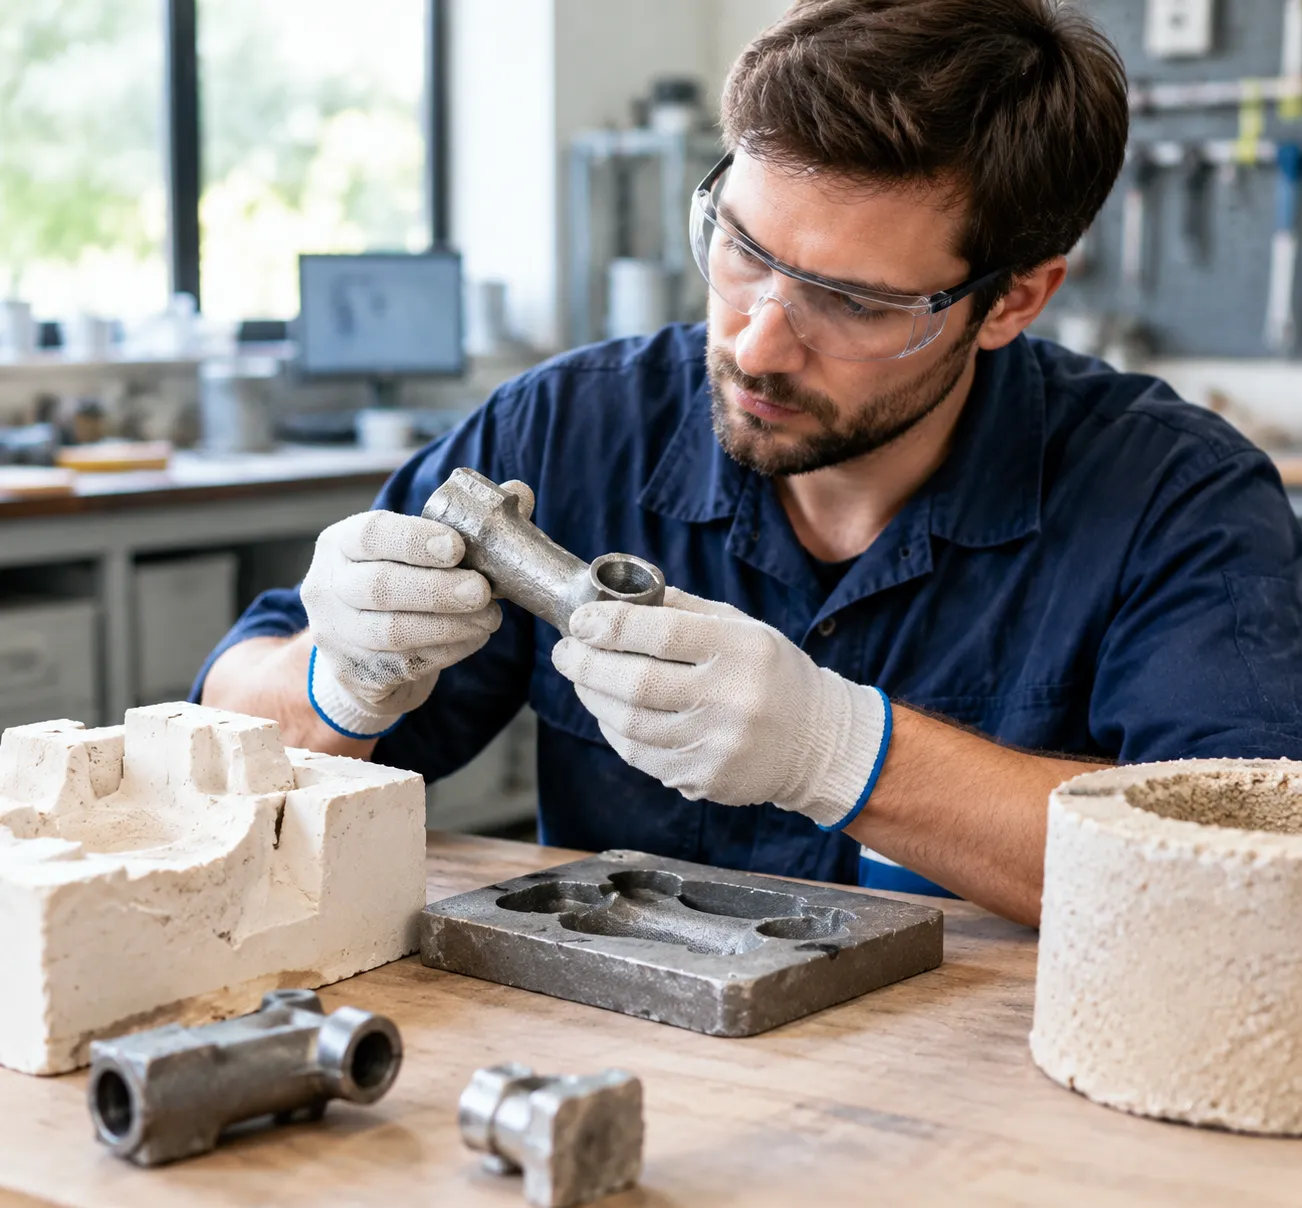
Defects in the wax casting method directly impact part yield, dimensional accuracy, and final finishing costs. When casting complex geometries or running batch production, identifying the root cause of a casting failure allows our team to modify the tooling, gating, or thermal profiles quickly. Here is how we diagnose and solve the most frequent defects encountered in lost wax precision casting.
Preventing Shrinkage Porosity and Gas Inclusions
Porosity is the most prevalent challenge during metal solidification and can weaken the structural integrity of the final component.
- Shrinkage Porosity: This occurs when molten metal shrinks as it cools, but lacks a continuous feed of molten material to fill the voids. We resolve this by designing progressive directional solidification into the sprue tree assembly. Gating must connect directly to the thickest sections of the part, ensuring feed sprues remain molten longer than the casting cavity.
- Gas Inclusions: Trapped air, moisture, or volatile organic residues create smooth, rounded voids inside the metal matrix. To achieve consistent casting porosity prevention, we thoroughly degas melts before pouring, optimize mold permeability, and utilize vacuum-assisted casting chambers. When pouring reactive metals or high-grade alloys, selecting properly certified cast stainless steel custom casting alloys alongside controlled deoxidation practices significantly minimizes trapped gas bubbles.
Fixing Incomplete Fills, Misruns, and Cold Shuts
Incomplete fills and misruns happen when liquid metal fails to completely fill the ceramic shell before freezing. Cold shuts occur when two converging streams of metal meet but fail to fuse seamlessly due to premature cooling.
- Increase Pour and Shell Temperatures: Maintain precise preheat temperatures in the burnout kiln right up to the moment of pouring to prevent metal from chilling prematurely in thin-wall sections.
- Optimize Pour Velocity and Gating: Increase sprue diameters or add strategic vents to alleviate back-pressure in narrow cavities.
- Utilize Pressure Assist: Apply vacuum draw or centrifugal force during the pour to drive molten metal rapidly into tight, intricate details before solidification begins.
Eliminating Mold Cracking, Flashing, and Finning
Mold cracking leads to metal penetrating fissures in the investment shell, resulting in unwanted "fins" or excess flash on the cast component.
| Defect Type | Primary Root Cause | Practical Workshop Solution |
|---|---|---|
| Shell Cracking | Rapid thermal expansion of wax during dewaxing | Use fast-acting steam autoclave dewaxing to melt wax surfaces instantly before the core expands. |
| Finning / Flashing | Insufficient ceramic shell thickness or weak binder | Increase refractory slurry dipping coats and ensure adequate drying time between stucco layers. |
| Spalling | Thermal shock during rapid burnout kiln ramp-up | Control burnout kiln heating curves gradually to prevent thermal shock to the ceramic matrix. |
Correcting Surface Roughness and Pattern Distortion
Achieving near-net-shape tolerances and smooth finishes requires strict control starting right at the wax pattern stage.
- Reduce Surface Roughness: Rough cast textures often stem from coarse primary slurry or ash residue left after burnout. We use ultra-fine zircon flour for the primary slurry dip and ensure complete burnout cycles at 900°C–1050°C to eliminate all residual carbon.
- Prevent Pattern Distortion: Wax patterns are susceptible to sagging, warping, or sink marks during ejection and cooling. Maintain tight temperature control during wax pattern injection, use rigid assembly fixtures for sprue trees, and allow patterns to stabilize at ambient shop temperatures before building the ceramic shell. For components demanding exceptionally fine surface textures and tight tolerances, implementing process controls typical of aluminum investment casting keeps part geometry stable and prevents distortion throughout the shell-building cycle.
Frequently Asked Questions About the Wax Casting Method
How long does the entire wax casting process take?
The turnaround time for a complete cycle depends primarily on mold drying requirements and batch volume. While the metal melting and pouring phase takes only minutes, ceramic shell molding requires dedicated drying periods between slurry dips to build structural integrity.
| Production Stage | Rapid / Studio Casting | Industrial Ceramic Shell |
|---|---|---|
| Pattern Production | 1 to 4 hours (Wax injection or 3D print) | 1 to 8 hours (High-cavity tooling) |
| Mold Building / Shell Drying | 2 to 4 hours (Plaster investment) | 24 to 72 hours (Multi-layer slurry dips) |
| Burnout Kiln Cycle | 5 to 12 hours | 8 to 16 hours |
| Pouring & Shell Knockout | 1 to 2 hours | 2 to 4 hours |
| Finishing & Quality Inspection | 2 to 6 hours | 4 to 12 hours |
| Total Turnaround Time | 1 to 2 Days | 3 to 7 Business Days |
To optimize workflow velocity, we streamline the standard lost-wax casting process by utilizing automated humidity-controlled drying rooms for shell acceleration.
Can you melt down and reuse pattern wax?
Yes, but we do not reuse reclaimed wax for high-precision pattern faces. During the autoclave dewaxing process, recovered wax undergoes thermal degradation, picks up fine refractory slurry particulates, and loses volatile plasticizers.
- Virgin Wax: Reserved for precision wax pattern injection to preserve tight tolerances and pristine surface finish.
- Reclaimed Wax: Cleaned, filtered, and repurposed for non-critical components such as the sprue tree assembly, runner bars, and pouring cups.
What is the difference between lost wax casting and investment casting?
In today's foundry industry, the terms are frequently used interchangeably, but there is a clear historical and technological distinction when evaluating lost wax casting vs investment casting.
- Lost Wax Casting: The traditional umbrella term describing any casting method that builds a mold around an expendable wax model that is later evacuated via heat.
- Investment Casting Method: The modern, industrial evolution of the technique. It relies on advanced robotic dipping, precisely graded colloidal silica refractory slurries, and automated dewaxing autoclaves to cast complex alloys with aerospace-grade tolerances.
What is the minimum wall thickness achievable with wax casting?
Achievable wall thickness depends directly on the alloy's fluidity, pouring temperature, and the casting equipment used.
- Non-Ferrous Alloys (Gold, Silver, Brass, Bronze): When utilizing a vacuum pressure casting machine or centrifugal casting, we routinely cast cross-sections down to 0.5 mm to 0.8 mm (0.020" to 0.031").
- Aluminum Alloys: Typically cast with a minimum wall thickness of 1.0 mm to 1.5 mm (0.040" to 0.060").
- Stainless Steel & Superalloys: Require 1.5 mm to 2.5 mm (0.060" to 0.100") to avoid cold shuts, incomplete fills, and localized misruns during high-temperature metal casting.
Is wax casting suitable for low-volume custom manufacturing?
Wax casting is one of the most cost-effective manufacturing methods for low-volume and custom runs. By leveraging castable resin 3D printing, our team eliminates expensive hard tooling and aluminum metal mold making costs, allowing direct burnout of custom one-off parts. When scaling from rapid prototyping to bridge production, switching to an automatic wax machine for precision investment casting ensures consistent pattern density and repeatable dimensional stability at minimal piece-part cost.
 English
 Russian
 German