

2026年11月4日
Learn how to choose wax injection machine by comparing pressure control capacity accuracy heating systems and maintenance for efficient casting
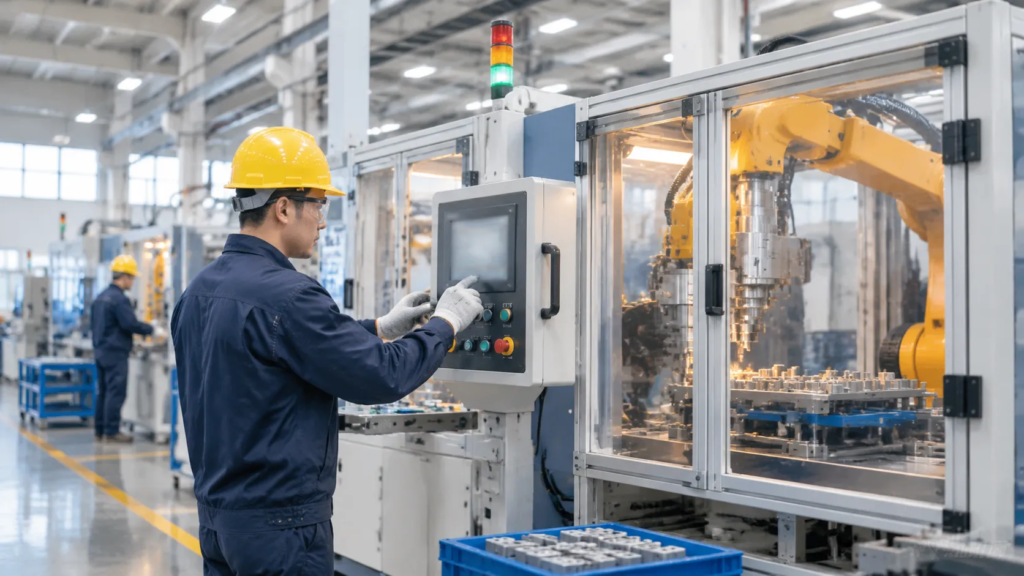
Understanding Wax Injection Machines
What Is a Wax Injection Machine and How It Works
A jewelry wax injection machine melts specialized casting wax inside a sealed, temperature-controlled reservoir and injects it under precise pressure into rubber or liquid silicone molds. Here is the mechanical cycle at work:
- Wax Melting & Stabilization: Digital heating elements liquify the wax pellet charge and maintain uniform viscosity across the tank.
- Air Evacuation (Vacuum Stage): Advanced units pull a vacuum inside the mold chamber to extract trapped air pockets before wax enters.
- Pressure Injection: Regulated compressed air drives molten wax through a heated injection nozzle straight into the mold cavity.
- Solidification: The wax chills against the mold walls, duplicating the master design down to microscopic engraving details before demolding.
The Role of Wax Patterns in Jewelry Investment Casting
In the lost-wax casting tree, the metal casting can only ever be as flawless as the wax pattern it burns out. Surface imperfections on a wax model directly transfer into the gold, silver, or platinum pour:
- Dimensional Accuracy: Uniform wax cooling prevents distortion and shrinkage on stone seats and prongs.
- Surface Quality: Smooth pattern walls eliminate the need for aggressive post-cast grinding and metal loss.
- Structural Integrity: Zero air entrapment in the wax eliminates sub-surface micro-porosity in the finished precious metal piece.
Target Users: Custom Studios vs Commercial Casting Workshops
Knowing how to choose wax injection machine models begins with auditing your production scale and operational targets:
- Independent Studios & Custom Designers: Focus on versatile, compact units capable of handling frequent mold swaps, varied wax hardness levels, and small batch sizes without wasting material.
- High-Volume Casting Facilities: Require continuous-duty automated vacuum wax injectors with integrated clamping, parameter memory presets, and dual-zone digital temperature regulation to maintain high yield rates across shift changes.
Matching Machine Type to Production Volume
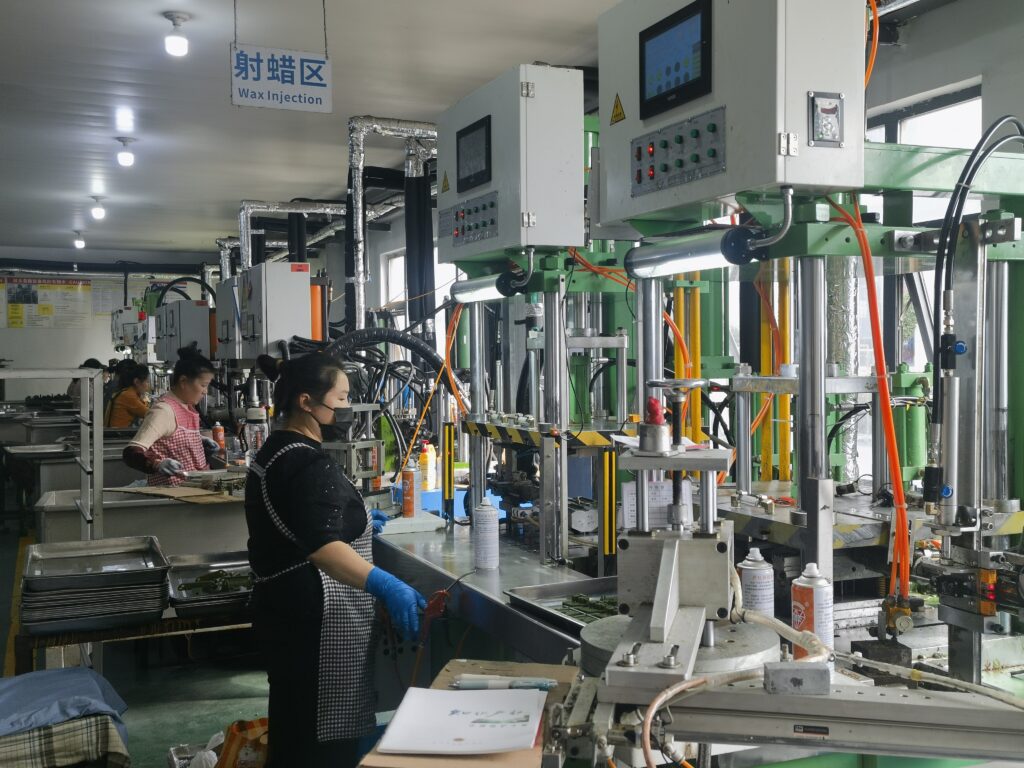
Choosing the right equipment starts with an honest look at your daily output targets. When deciding how to choose wax injection machine models for a workshop, production volume dictates whether a basic bench unit or an integrated production system makes economic sense.
Manual Wax Injectors for Custom Jobs and Low-Volume Studios
For bespoke jewelry studios, repair shops, and artisan jewelers producing fewer than 50 pieces a day, manual wax injectors remain a practical entry point.
- Mechanism: Hand-operated air pumps or basic foot-pedal clamps push wax into the mold.
- Best used for: One-off custom designs, prototyping, and low-pressure injection waxes.
- Limitations: Inconsistent hand pressure often creates non-fill defects or parting-line flash, requiring skilled manual cleanup on every pattern.
Semi-Automatic Machines for Balanced Output and Manual Control
Semi-automatic units serve growing workshops that need steady daily yields without losing direct physical control over delicate molds.
- Mechanism: Pneumatic injection driven by shop air, paired with manual mold positioning and hand-lever clamping.
- Best used for: Mid-scale production runs (50 to 250 patterns per shift) across mixed mold libraries.
- Key advantage: Reliable wax injection pressure control delivers better fill repeatability while letting the operator manually adjust pressure against complex mold sections.
Fully Automatic Vacuum Wax Injectors for Continuous Mass Production
High-capacity casting houses require automated cycle consistency to maintain high yields. An automatic vacuum wax injector handles the entire sequence—auto-clamping, vacuum de-airing, wax injection, and dwell cooling—without operator variation.
| Feature | Manual Unit | Semi-Automatic Unit | Automatic Vacuum Injector |
|---|---|---|---|
| Daily Output | 10 – 50 patterns | 50 – 250 patterns | 300 – 1,000+ patterns |
| Clamping Action | Manual hand/vise | Manual mechanical clamp | Automatic pneumatic clamp |
| Bubble Prevention | None (atmospheric) | External vent lines only | Integrated chamber vacuum pull |
| Cycle Consistency | Operator dependent | Moderate | Exact digital repeatability |
| Primary Risk | Incomplete fills, flash | Operator fatigue over time | Higher initial equipment investment |
Identifying and Eliminating Production Bottlenecks
Mismatched machinery creates expensive shop floor delays. Pinpoint where your casting room loses time before selecting a machine configuration:
- High scrap rates from trapped air: Indicates you need vacuum evacuation before the wax enters the cavity, not higher injection pressure.
- Excessive cleanup at the bench: Suggests unstable clamping pressure that forces wax into the mold parting line.
- Inconsistent pattern weights: Points to thermal swings in the reservoir or lack of timed dwell control during injection.
Evaluating Temperature Control Precision
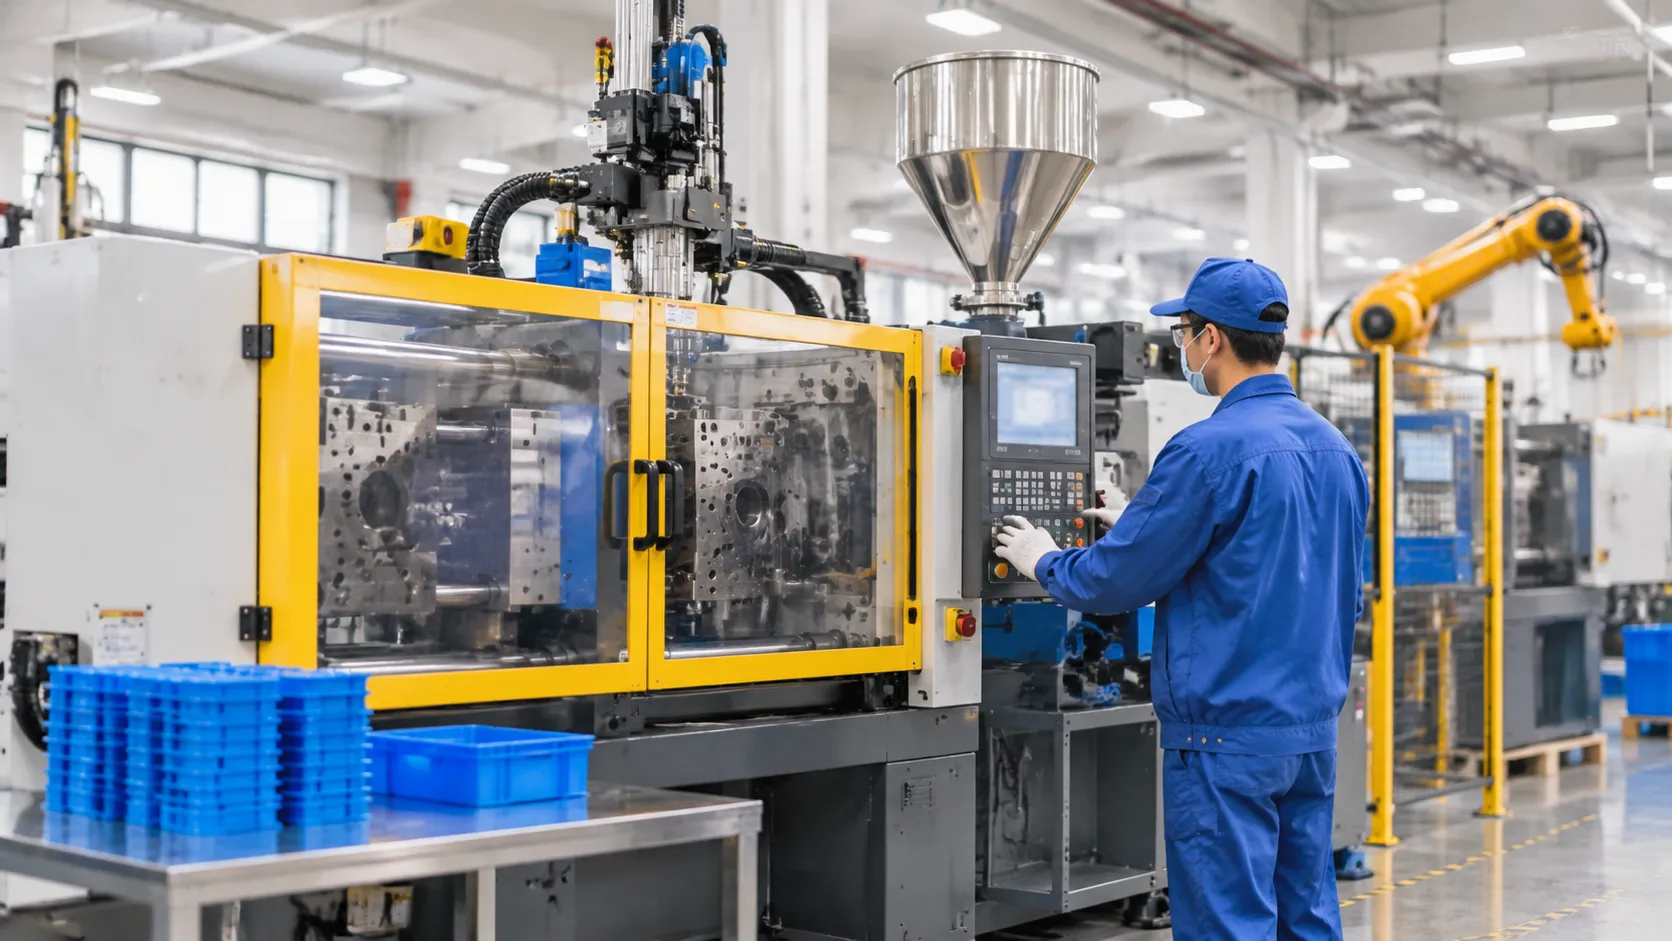
When assessing how to choose wax injection machine hardware, temperature stability sits at the top of my checklist. Wax is unforgiving. A shift of just two or three degrees can turn clean production into a scrap bin full of sunken shanks, warped prongs, or half-filled filigree.
Independent Digital Controls for Wax Tank and Nozzle
I always steer clear of units that rely on a single heating circuit. A reliable digital wax injector must feature dual, independent PID temperature regulation:
- The Wax Reservoir: Keeps your bulk wax evenly melted at a stable holding temperature without scorching or breaking down the chemical binders.
- The Injection Nozzle: Operates on its own heating element to offset ambient workshop drafts. If the nozzle drops even slightly below tank temperature, the wax chills on contact, causing blockages and flow hesitation. Setting the nozzle 1°C to 3°C warmer than the tank ensures a smooth shot right into the gate.
Why Thermal Stability Prevents Flaws
Wax expands when heated and contracts as it cools. Without steady wax injector temperature control, you run into constant structural defects:
- Excess Heat: Causes severe wax shrinkage, cavitation sinks on thick patterns, excessive flashing at the mold parting line, and longer bench cooling times.
- Insufficient Heat: Results in premature freezing, cold shuts, air entrapment, and incomplete detail on micro-prongs.
- Consistent Output: Stable thermal control ensures that every wax pattern meets strict casting quality standards for reliable metal parts down the line.
Working Temperature Reference Across Common Waxes
Different wax formulations demand distinct thermal setups. I run test shots and lock these base settings into our machines:
| Wax Type | Target Tank Range | Target Nozzle Range | Typical Application |
|---|---|---|---|
| Standard Injection Wax | 68°C – 72°C (154°F – 162°F) | 70°C – 74°C (158°F – 165°F) | High-production rings, charms, general commercial casting |
| High-Flex / Filigree Wax | 71°C – 75°C (160°F – 167°F) | 73°C – 77°C (163°F – 171°F) | Ultra-thin detailing, micro-pavé prongs, flexible removal |
| Carving / Hard Injection Wax | 73°C – 78°C (163°F – 172°F) | 75°C – 80°C (167°F – 176°F) | Heavy signet rings, sharp geometric edges, hand-modified waxes |
Choosing a machine with responsive, isolated digital sensors ensures you never spend your morning recalibrating heat settings just to get a clean fill.
Assessing Injection Pressure and Vacuum Capabilities
When deciding how to choose wax injection machine systems for your bench, the way a unit handles air and pressure dictates pattern quality. Without precise pneumatic regulation, you will constantly fight flashing on delicate parts or incomplete fills on chunky bands.
Pressure Control: Filigree vs. Heavy Signet Rings
A standard single-pressure setting will not cut it across diverse jewelry lines. Your setup must provide micro-adjustable wax injection pressure control:
- Delicate filigree and micropavé settings: Require lower, gentle injection pressure. Excess force distorts thin rubber walls and creates parting-line flash that takes hours to clean up by hand.
- Heavy signet rings and solid cuffs: Require higher, sustained pack pressure to prevent pattern sinking, hollow spots, and shrinkage cavities as the wax solidifies.
The Role of Vacuum De-Airing
Trapped air inside mold cavities is the primary source of incomplete prongs and surface porosity in final castings. A dedicated vacuum wax injection machine evacuates air from the clamped mold cavity before the wax enters.
- Eliminates micro-voids: Pulling a deep vacuum removes air pockets in sharp interior angles and tight stone seats.
- Ensures sharp edges: Molten wax flows effortlessly into fine pattern details without fighting back-pressure from trapped atmosphere.
Optimizing Vacuum Pull and Dwell Time
Repeatable wax reproduction relies on setting independent digital timers for the injection sequence:
- Vacuum Duration: Regulates how long the pump evacuates the mold cavity prior to shot release.
- Injection Dwell Time: Controls how long the nozzle stays engaged under steady pressure. Maintaining dwell allows the wax to pack the cavity and set properly, eliminating sink marks on heavy shanks before the mold releases.
Checking Mold Compatibility and Clamping Systems
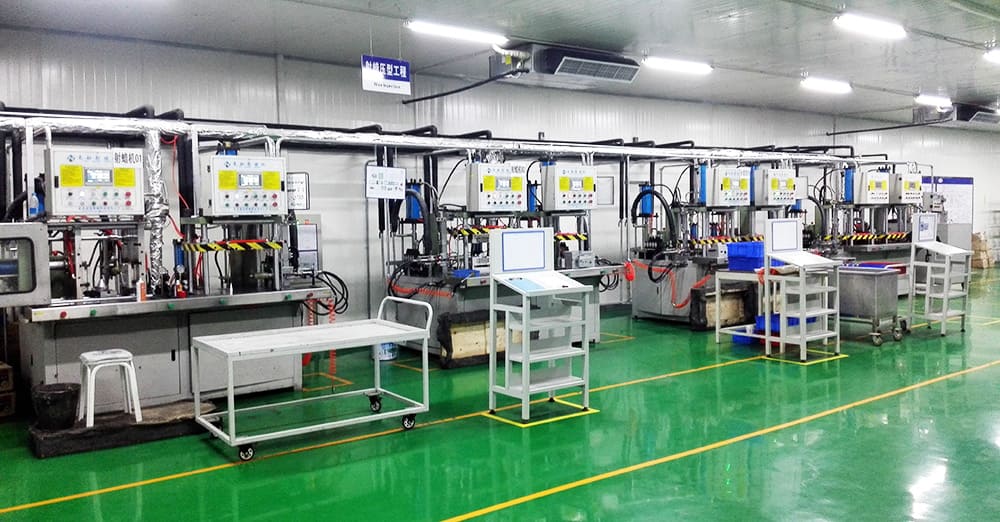
When deciding how to choose wax injection machine setups for your workshop, the clamping mechanism makes or breaks your pattern quality. Even with dialed-in temperature and pressure, an unstable or improperly sized clamp causes flashing, distorted patterns, and parting-line blowouts.
Accommodating Rubber and Silicone Molds
A versatile jewelry wax pattern machine must handle both standard vulcanized rubber and softer liquid silicone tooling. Vulcanized rubber molds handle firmer mechanical clamping without shifting, providing rigid support for production rings and standard components. Liquid silicone molds capture ultra-fine surface detail but deform easily under excessive mechanical load. For detailed mold prep steps, reviewing our mold and cast guide helps ensure your patterns release cleanly without stretching.
Clamping Area, Throat Depth, and Force Control
We always look at the physical envelope of the clamping unit before checking anything else: Effective Clamping Area: The platens must fully cover the mold surface to deliver even pressure across the entire cavity plane. Throat Depth: Sufficient throat depth ensures you can inject oversized pendant molds, bangles, and thick multi-piece molds without obstruction. Adjustable Auto-Clamp Force: An automated clamp with precise digital pressure settings applies repeatable holding force without relying on operator hand strength.
| Clamping Factor | Too Low / Too Loose | Too High / Too Tight | Optimal Setting |
|---|---|---|---|
| Platen Pressure | Flash along parting lines, wax leakage | Cavity collapse, dimensional distortion | Clean seal without squishing mold walls |
| Nozzle Alignment | Incomplete injection, wax spray | Damaged mold sprue, off-center filling | Flush, centered contact with the sprue |
Preventing Flash and Parting Line Leaks
Mold flash adds tedious cleanup time at the bench and wastes wax. An automatic wax injection machine with uniform pneumatic or motorized clamping locks the mold halves flat during the vacuum draw and injection phase. This balanced compression seals the parting line securely, preventing wax from creeping between layers while keeping fragile inner cores intact.
Comparing Automation, Presets, and Digital Controls
When figuring out how to choose wax injection machine systems for real production demands, automation level separates entry-level tools from true bench assets. Manual injection leaves critical variables up to individual operator habits. Transitioning to a modern automatic wax injection machine standardizes the entire fill cycle, taking guesswork out of the daily run.
Automated Clamping, Vacuuming, and Timed Cycles
In a high-output environment, synchronizing the mechanical movements inside the machine eliminates short fills and excessive flashing:
- Pneumatic Auto-Clamping: The unit locks the mold with preset, uniform pressure across the rubber face before wax ever moves.
- Timed Vacuum Evacuation: An integrated vacuum pump draws air out of the mold cavity for a designated number of seconds, clearing micro-voids in intricate filigree.
- Timed Wax Injection & Dwell: The nozzle injects molten wax under monitored pressure, holding dwell time precisely to allow the sprue to solidify without sinking.
Running these stages automatically guarantees identical wax patterns from the first pull of the morning to the last pull of the shift.
| Control Stage | Manual Operation | Automated Digital Sequence | Production Benefit |
|---|---|---|---|
| Mold Clamping | Hand pressure / uneven vise | Controlled pneumatic clamp | Zero mold distortion, no flashing |
| Air Evacuation | None or inconsistent foot pedal | Automated pre-injection vacuum | Eliminates trapped air bubbles |
| Injection Timing | Visual guess / operator feel | Exact digital dwell timer | Stable piece weight across batches |
Programmable Parameter Presets for Fast Changeovers
Every rubber or silicone mold requires a specific recipe. Heavy signet rings demand higher volume and longer dwell times, while ultra-fine micropavé mountings require lower pressures and extended vacuum draws.
I prioritize a digital wax injector with built-in parameter storage. Storing optimized recipes—covering vacuum duration, injection pressure, forward clamp force, and dwell time—allows operators to switch between diverse molds in seconds. Instead of running test shots or recalibrating dials throughout the day, the operator simply punches in the preset code and starts injecting. This repeatability is essential for downstream consistency when prepping trees for investment casting.
Intuitive Operator Interfaces and Workflow Consistency
A complicated control panel creates bottlenecks and increases training overhead. A well-designed vacuum wax injection machine needs a clean, responsive digital interface that displays real-time wax reservoir temperatures, nozzle heat, vacuum levels, and cycle status at a glance.
When digital controls are clear and straightforward: New bench technicians achieve production-grade yields within their first shift. Parameter drift is caught immediately on digital readouts before defective patterns reach the tree. Workflow remains steady across multi-shift casting operations without requiring constant engineering intervention.
Reviewing Machine Specifications and Workshop Fit
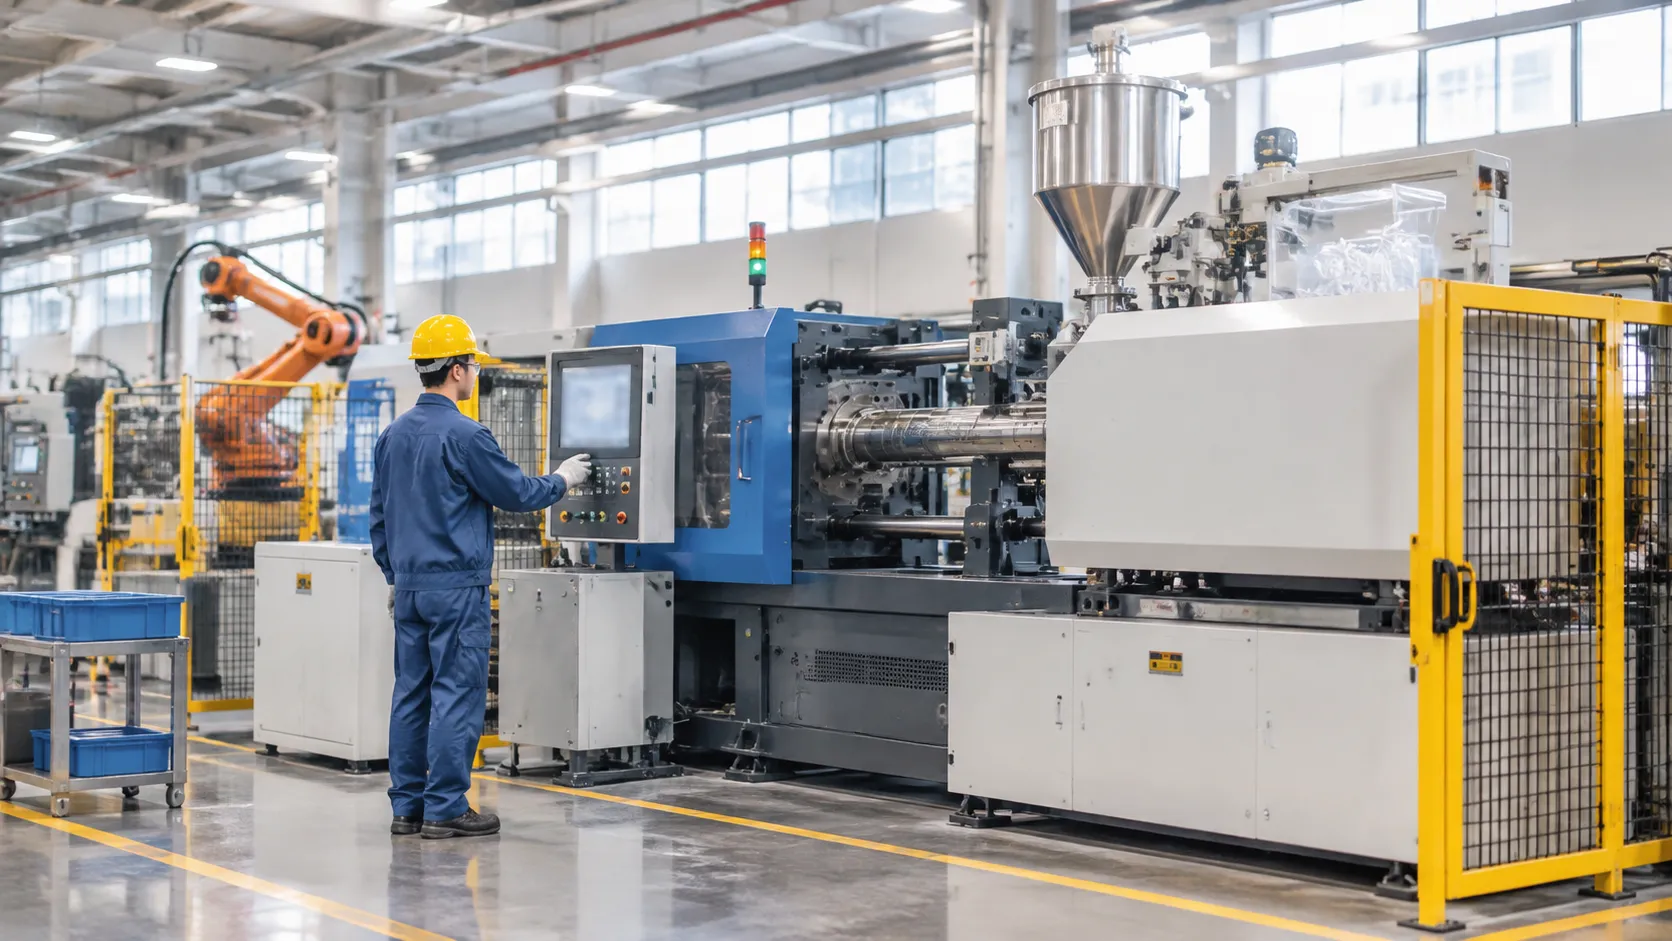
When deciding how to choose wax injection machine hardware that fits your operational layout, raw specs matter just as much as functional features. A machine with great clamping force will still stall production if your air compressor cannot sustain its pneumatic cycle or if the wax reservoir is too small for continuous shifts.
Key Technical Specs: Capacity, Air, and Power
Before committing to a unit, we evaluate three utility baselines:
- Wax Tank Capacity: Standard benchtop reservoirs hold between 2 to 3 liters (roughly 4.5 to 6.5 lbs) of melted wax. This is plenty for custom studios injecting 50 to 150 patterns daily. If you operate continuous multi-operator lines, look for a 5-liter capacity or an automatic wax-feeding system to prevent temperature drops caused by frequent cold-wax refilling.
- Pneumatic & Vacuum Supply: An automatic vacuum wax injector needs dry, regulated compressed air (typically 0.4 to 0.7 MPa) and a dedicated vacuum connection. Moisture in your air line ruins pneumatic valves and causes erratic injection pressure, so ensure your setup includes an inline air filter and water separator.
- Power Consumption & Heating Elements: Most digital units run on standard 110V or 220V single-phase power, consuming between 400W and 1200W depending on the heating coil size. Independent dual heating zones (tank and nozzle) draw power separately to maintain thermal stability.
Benchtop Footprint vs. Standalone Production Units
Workshop space dictates machine layout. Most jewelry casting workshops opt for compact benchtop designs to keep molds, wax injectors, and sprue bases within arm's reach.
| Feature | Benchtop Wax Injector | Standalone Industrial Unit |
|---|---|---|
| Typical Tank Size | 2.0 L – 3.5 L | 5.0 L – 10.0 L+ |
| Footprint | Approx. 450 × 310 × 450 mm | Integrated workstation / floor-mount |
| Air / Vacuum Setup | External compressor & vacuum pump | Built-in high-capacity vacuum pumps |
| Ideal Production Scale | 50 – 500 patterns/day | 1,000+ patterns/day |
| Mobility & Setup | Easy bench integration; flexible placement | Fixed production-line footprint |
A compact footprint keeps your workflow ergonomic, especially when preparing wax trees for the downstream ceramic shell investment casting process where clean, unbroken sprues are essential.
Daily Maintenance, Nozzle Purge Access, and Spare Parts
A reliable wax pattern injection machine should be easy to service. Down-time caused by hardened wax or a clogged orifice directly halts assembly.
- Nozzle Purge and Drainage: Look for machines with straight-line nozzle access and an accessible bottom drain valve. Purging old, oxidized wax or switching between hard carving waxes and flexible injection waxes should take minutes, not hours.
- Filter Placement: Molten wax picks up dust and airborne debris over time. An internal, easily removable mesh filter upstream of the nozzle prevents micro-particulates from choking the orifice.
- Wear Components: High-cycle pneumatic clamps, nozzle seals, and silicone gaskets wear out over months of continuous production. Ensure replacement O-rings, heating cartridges, and PID temperature sensors are standard, off-the-shelf items that do not require weeks of international freight to replace.
What to Confirm Before Requesting a Supplier Quote
Before reaching out for pricing on a jewelry wax injection machine, I always review my production baseline. Knowing exactly what your workflow demands prevents buying underpowered gear or paying for capacity you will never touch. When scaling your production, consistent wax patterns make all the difference in modern lost wax casting processes.
Here is what you need to audit before asking for a quote:
Auditing Mold Dimensions, Wax Types, and Daily Output
- Mold sizing: Measure your thickest and widest rubber and silicone molds. Confirm the injector's clamping area and nozzle stroke match these dimensions.
- Wax formula: Note the melting point and viscosity of your wax (carving wax, injection wax, or water-soluble cores) to ensure the machine’s thermal range can handle it.
- Daily piece count: Quantify your target output per shift. A manual injector suits low-volume custom work, but continuous batches require an automatic vacuum wax injector to keep pace.
Workshop Utility Requirements
Make sure your shop can power and run the unit on arrival without costly electrical or pneumatic retrofits.
| Utility Check | Specification to Verify | Why It Matters |
|---|---|---|
| Voltage & Phase | 110V vs. 220V (Single-phase) | Matches your local wall power and circuit breaker limits. |
| Compressed Air | Required bar/PSI and clean CFM | Drives automated clamps and injection pressure without pressure drops. |
| Vacuum Supply | Built-in de-airing pump vs. external port | Essential for bubble-free fills in complex jewelry molds. |
Support, Training, and Spare Parts
When learning how to choose wax injection machine suppliers, look past the initial price tag. Ask about:
- Wear-and-tear spares: Availability of replacement heating bands, nozzle seals, O-rings, and clamp gaskets.
- Warranty scope: Clear coverage on digital PID controllers, heating elements, and pneumatic valves.
- Onboarding and setup: Access to clear user documentation, digital parameter guidelines, and responsive technical support.
Frequently Asked Questions
What does a wax injection machine do?
A wax injection machine melts solid jewelry wax, maintains it at an exact liquid temperature, and injects it under controlled pneumatic pressure into rubber or silicone molds. This creates precise wax replicas used in the lost-wax investment casting process.
How do I choose the right wax injector for jewelry production?
Focus on your production volume, mold types, and design complexity. Understanding how to choose a wax injection machine with PID control ensures thermal stability across shifts, while checking clamp mechanics and vacuum capabilities prevents common defects like flashing or short fills.
Do I really need a vacuum wax injection machine?
If you cast intricate filigree, micro-pavé settings, or high-detail patterns, a vacuum system is essential. It evacuates air from the mold cavity before injection, preventing air pockets, surface voids, and incomplete margins without requiring high injection pressure that can distort the mold.
What is the difference between manual and automatic wax injectors?
| Feature | Manual Wax Injector | Fully Automatic Vacuum Wax Injector |
|---|---|---|
| Clamping | Hand-held or manual vise | Automatic pneumatic clamp |
| Air Removal | None (relies on mold vents) | Integrated vacuum de-airing cycle |
| Cycle Trigger | Manual nozzle push | Automated single-button or foot pedal |
| Repeatability | Varies by operator grip | Digital parameter presets ensure identical cycles |
| Best For | One-off studio work | Continuous production and commercial casting |
Why should tank and nozzle temperatures be controlled separately?
The injection nozzle loses heat to the ambient air much faster than the insulated reservoir tank. Independent digital heating prevents the nozzle tip from freezing and clogging, while keeping the main wax tank from overheating and degrading the wax chemistry.
Can one wax injection machine work with different mold sizes?
Yes. Quality units accommodate standard vulcanized rubber and liquid silicone molds of varying thicknesses. Choosing a versatile wax injection machine for investment casting with adjustable clamp plates and programmable clamp pressure ensures safe sealing without crushing soft molds.
What details should I provide when requesting an equipment quote?
- Daily production output: Target pattern count per shift.
- Mold dimensions: Maximum thickness, width, and mold material (rubber vs. silicone).
- Pattern complexity: Need for vacuum de-airing on thin or filigree pieces.
- Workshop utilities: Available electrical voltage and compressed air supply specifications.
How do I maintain and clean a jewelry wax injector?
- Daily: Purge the nozzle tip before shutdown and clean any wax residue from the clamp alignment plates.
- Monthly: Drain the in-line air filter moisture trap and inspect vacuum pump oil levels.
- Periodic: Empty and clean the wax tank to remove settled debris, lint, or oxidized wax crusts that can cause nozzle clogs.
 English
 Russian
 German